I can confirm that QS transcode works perfectly in a container on Ubuntu, and it’s super easy to do as well. First, you need to set up your container config folder, like I mentioned in the closing notes above. This folder will contain your Plex config and metadata, so make sure it’s on a fast SSD with a decent amount of free space. If you choose to use either of the /opt/docker folder structures I mentioned above, you’ll need to create the folders using sudo and then run chown to give your normal user account access. Here’s a oneliner that will do it all for you:
sudo mkdir -p /opt/docker/config/plex && sudo chown -R $(id -u):$(id -g) /opt/docker
Next, you need to create your compose file. Open your favorite text editor, and copy and paste the following code block:
version: "2.1"
services:
  plex:
    image: linuxserver/plex
    container_name: plex
    network_mode: host
    environment:
      - PUID=1000
      - PGID=1000
      - TZ=America/Chicago
      - VERSION=latest
    volumes:
      - /opt/docker/config/plex:/config
      - /mnt/media:/media
      - /dev/shm:/transcode
    devices:
      - /dev/dri:/dev/dri
    restart: unless-stopped
You’re going to need to modify a few of these lines according to your local config. One quick note about editing this file, it’s using the YAML syntax, which means that the number of spaces indenting each level need to be consistent. I’m using 2 spaces above. If you need to add any additional path mappings, make sure the beginning of the line lines up with the other paths. And also, you need to use spaces, tabs aren’t valid.
First, you need to figure out your UID and GID. Open a terminal on your Ubuntu box, make sure you’re logged in as whichever user you used for the Docker installation above, and run the command id. You will get an output similar to this:
![]()
Your UID and GID will most likely be 1000, unless you’ve created multiple users. If your IDs are different, change the PUID and PGID environment variables.
Next, change the TZ variable to match your local time zone if necessary, using this list to find the appropriate zone.
Leave the VERSION variable set as latest, unless you want to use a specific version of the container.
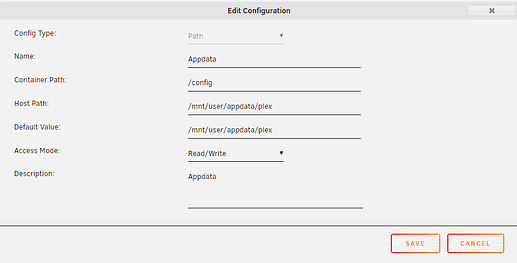
Next is the volume mappings. In my example, I have a folder for the Plex metadata and config, a folder for my media, and I’m mapping the built-in shared RAM disk for Plex transcoding, to save wear and tear on my SSD. One quick note on mappings, each mapping consists of a host path and a container path, separated by a colon. If you’ve added a few containers to your Unraid box, you’re probably already familiar with these terms, but just as a quick refresher, the path in this Unraid screenshot:
would be entered as /mnt/user/appdata/plex:/config in a docker-compose file.
So, in the first volume mapping, change the host path /opt/docker/config/plex to match whatever folder you created above. The container path /config will stay the same. Make sure the colon stays in place.
The next volume mapping in my example is for my media folder. I use a single folder for my media, but if you have multiple folders you just need to add additional lines. For this mapping, the container path isn’t set in stone. I use /media, but you can use /movies and /tv or whatever folders you have already set up.
My last mapping is the shared RAM disk. This is optional, and only recommended if you have at least 16GB of system RAM. Check out this post I made on the subject for more details. If you don’t want to use the shared RAM disk, you can eliminate this line and Plex will use the default folder inside the Library folder for transcoding.
That’s the end of the edits you need to make. The last few lines enable the use of the QuickSync iGPU inside the container, and configure the container to restart automatically.
Ok, now that you have the file modified to match your local config, you can save the file to your ubuntu box. It needs to be named exactly docker-compose.yml and I would recommend putting it either in the parent folder of the config folder you created in the first step, or in your user’s home folder.
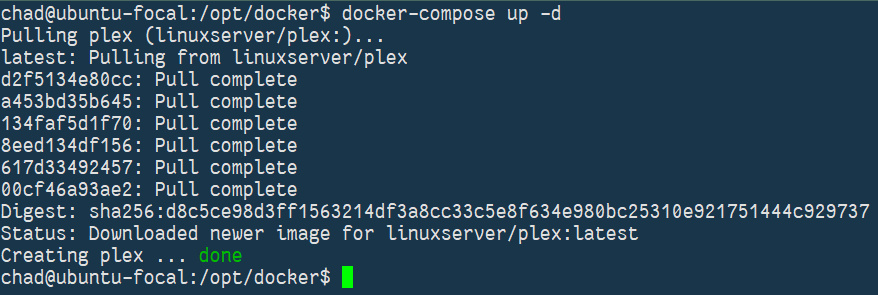
That’s it, now to test your work, run docker-compose up -d from the folder where you saved the file. You should see Docker start to pull the necessary images to run Plex, and if it worked, it should look something like this when it’s finished:
Now you can log in to your shiny new Plex container using the standard web interface to walk through the initial setup, adding libraries, etc.

