Here is my NK5 build. Further down is build pics as well as some fixes to problems I ran into along the way. Hopefully my struggles might help someone else. At the very least, you can laugh at me.
A little bit of background, I’m using it as a basic NAS running Unraid with a few dockers for Hydra, Sonarr, and Radarr. Plex will be on a standalone HP290. Two unassigned drives are included in the total below for cache and appdata. Not included is six 12tb shucked WD drives.
Special thanks to Etumos and ChappyEight for posting their NK5 builds so that I could use them as a guide. Also to the community for staying on top of deals and answering all my questions.
Total price comes in at $681.04. Disclaimer: I shopped mostly during Black Friday deals last November.
Expand for Parts List
| Item | Description | Quantity | Price |
|---|---|---|---|
| RSV-L4500 | Rosewill RSV-L4500 - Server Case or Chassis, 4U Rackmount - 15 x Internal Bays, 8 x Cooling Fans Included | 1 | $49.99 |
| X10SL7-F | Supermicro X10SL7-F Motherboard High Performance LGA 1150! | 1 | $50.00 |
| E3-1230L v3 | Intel CM8064601467601 SR158 Xeon Processor E3-1230L v3 8M Cache (1 Tray CPU) | 1 | $102.00 |
| 32GB Ram | 32GB (4x8GB) PC3-10600E DDR3 ECC Unbuffered Memory for Intel E3 CPU Processor | 1 | $130.00 |
| EVGA 850 GQ | EVGA 850 GQ, 80+ GOLD 850W, Semi Modular, EVGA ECO Mode, 1 Year Warranty, Power Supply 210-GQ-0850-RX | 1 | $69.99 |
| Asetek 550LC | 120mm Liquid Cooler Asetek 550LC LGA 1151/1150 Intel i3/i5/i7 | 1 | $25.00 |
| Sata Power Splitter | StarTech 4X SATA Power Splitter Adapter Cable (PYO4SATA) | 4 | $28.28 |
| Sata Cables | RELPER-LiNESO 6 Pack 18 Inches SATA III 6.0 Gbps Data Cable with Locking Latch | 2 | $15.98 |
| Arctic F8 5 Pack | ARCTIC F8 PWM PST Value Pack (5 Units) - 80 mm PWM PST Case Fan - Five Pack, Silent Cooler with Standard Case, PST-Port (PWM Sharing Technology) | 1 | $20.99 |
| Arctic F12 5 Pack | ARCTIC F12 PWM PST - Value Pack (5pc) - Standard Low Noise PWM Controlled Case Fan with PST Feature | 1 | $22.99 |
| Thermal Paste | GELID GC-Extreme 3.5g with tooling - Thermal Conductive Paste for Heatsink | 1 | $14.98 |
| 16GB USB for Unraid | SanDisk Cruzer Fit CZ33 16GB USB 2.0 Low-Profile Flash Drive- SDCZ33-016G-B35 | 1 | $6.85 |
| 1TB SSD for Cache | ADATA USA Ultimate Su800 1TB 3D Nand 2.5 Inch SATA III Internal Solid State Drive (ASU800SS-1TT-C) | 1 | $71.99 |
| 1TB SSD for Appdata | ADATA USA Ultimate Su800 1TB 3D Nand 2.5 Inch SATA III Internal Solid State Drive (ASU800SS-1TT-C) | 1 | $71.99 |
| TOTAL | $681.04 |
Note: Get the Arctic P8 and P12 instead of the F series. I just happened to get a black friday deal. Ps are better.
Started by testing the cpu, motherboard and ram out of the box.

Really glad I did because I encountered my first problem. No bios screen. The motherboard powered on. Normal lights and beeps but I was getting nothing through the VGA. I started troubleshooting by rotating memory sticks, finding an old vga monitor, switching cables. That wasn’t working. Tried to connect to the bios through IPMI, but that was disabled. Out of frustration, I grabbed an old graphics card I had laying around and tried to get to the display.
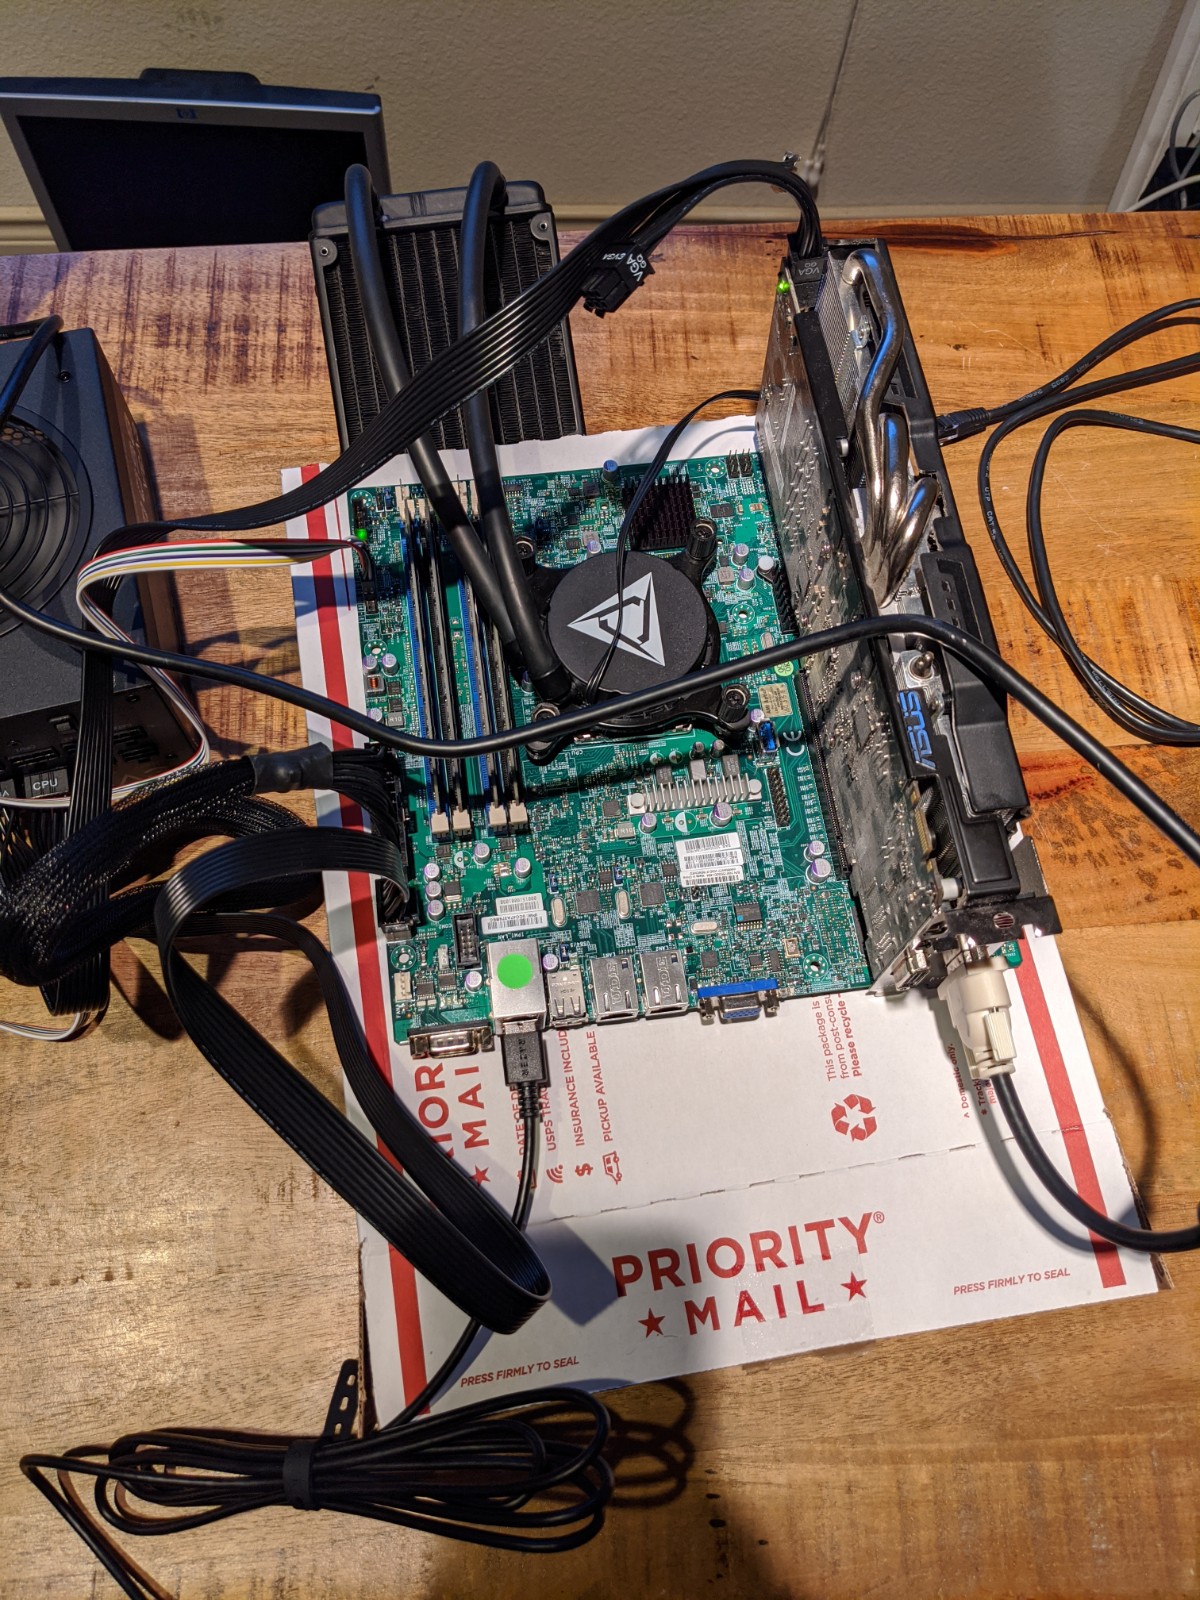
But nothing. I was about ready to go play disc golf with my motherboard when I discovered that I had to manually disable the onboard VGA before the graphics card would work. To do that, switch the little blue bridge for JPG1 (printed on the mobo) from pins 1 and 2, and move it to pins 2 and 3.

Oh you beautifully ugly bios screen. Notice its night outside now? Yeah, me too. I had to dig through about 10 boxes in storage before I found that spare graphics card. On the bright side, I did find that missing, dancing Santa Clause my grandmother gifted me a few years back and then subsequently wouldn’t stop asking me about last Christmas. Anyway, I could now turn to flashing the onboard LSI to IT mode. With the main problem behind me, I knew nothing else could go wrong.
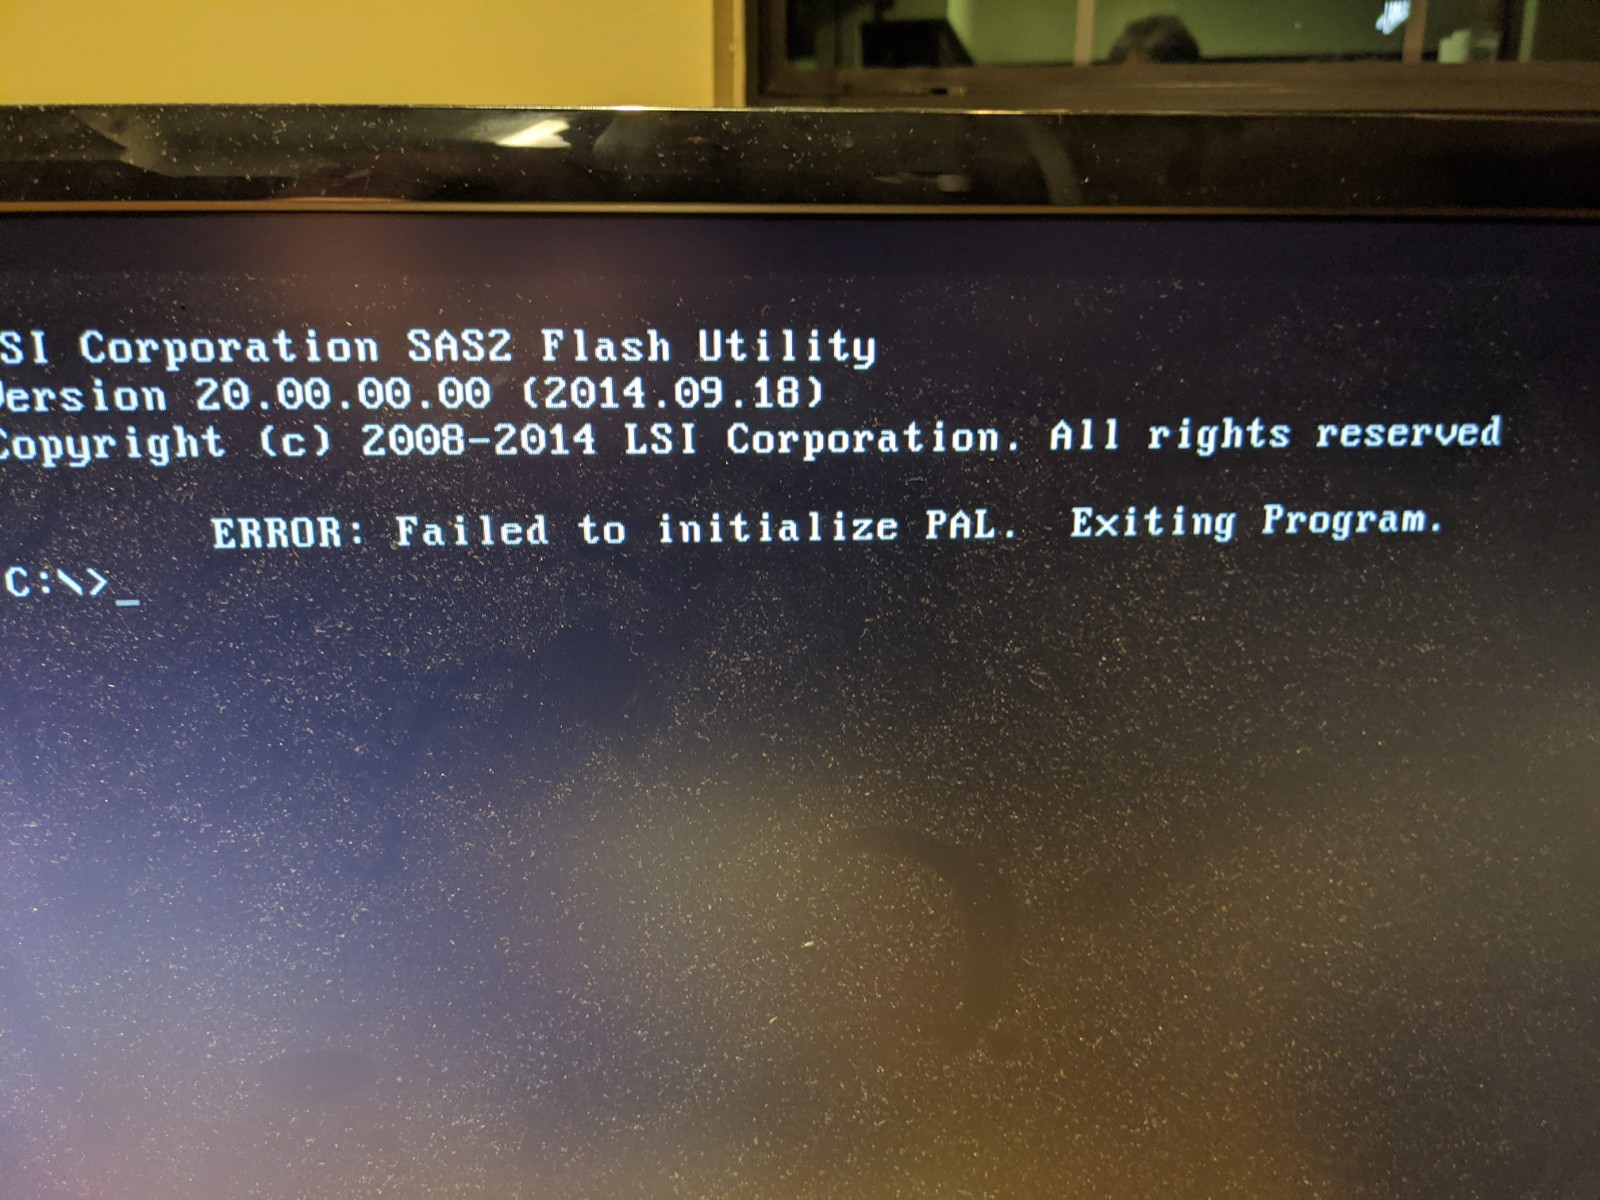
I realized two things immediately. One, this was going to be a long night, and two… I really needed to clean my monitor. Luckily, Mr. JDM was streaming at the time and told me my motherboard was too new for the tutorial I was following. He pointed me over to this guide by Mthrboard. One note on this tutorial, I was getting hung up on step 4 because bios wasn’t finding a proper boot drive. I figured out that it was because I had USB set to first boot priority. There was actually two entries of my flash drive. USB and UEFI. As soon as I booted to UEFI, I was able to proceed and flash the onboard LSI to IT mode.
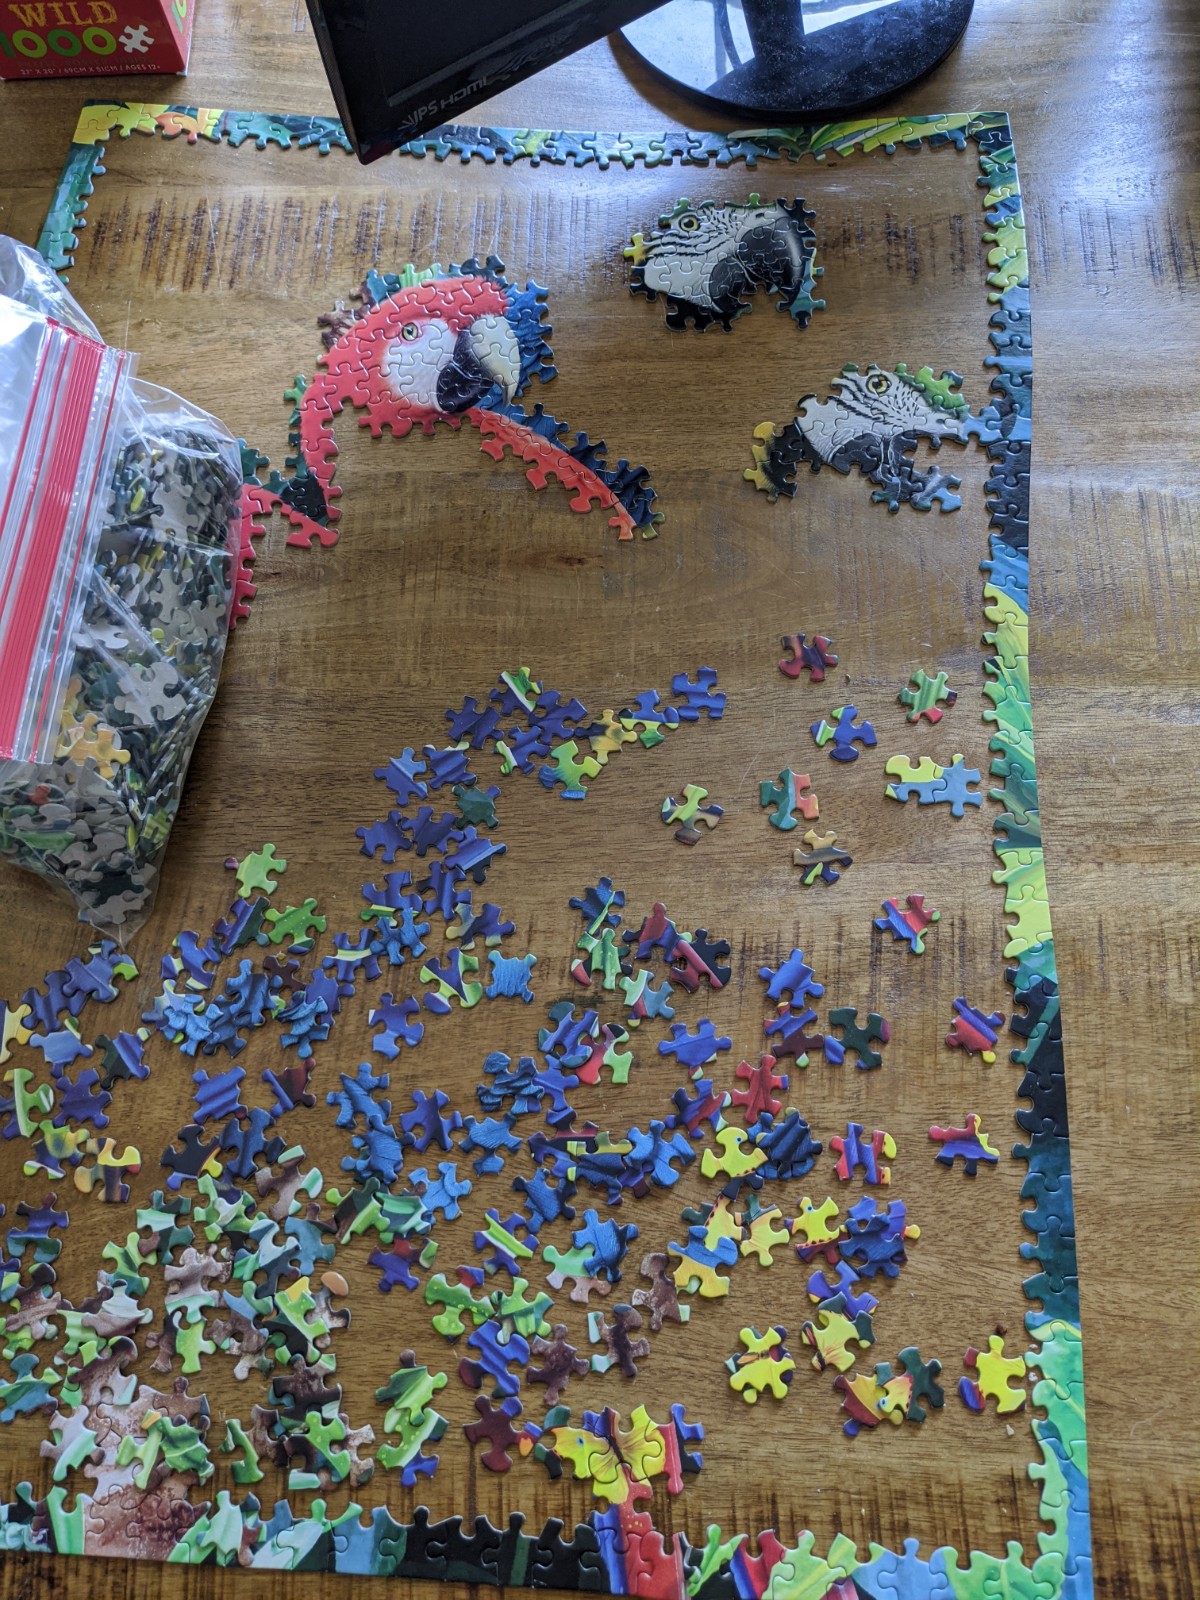
The sharp-eyed among you might have noticed this bad boy on the table earlier. My GF informed me that I could NOT touch her quarantine puzzle until she’s finished with it. I’m dealing with all sorts of obstacles. So stressful.
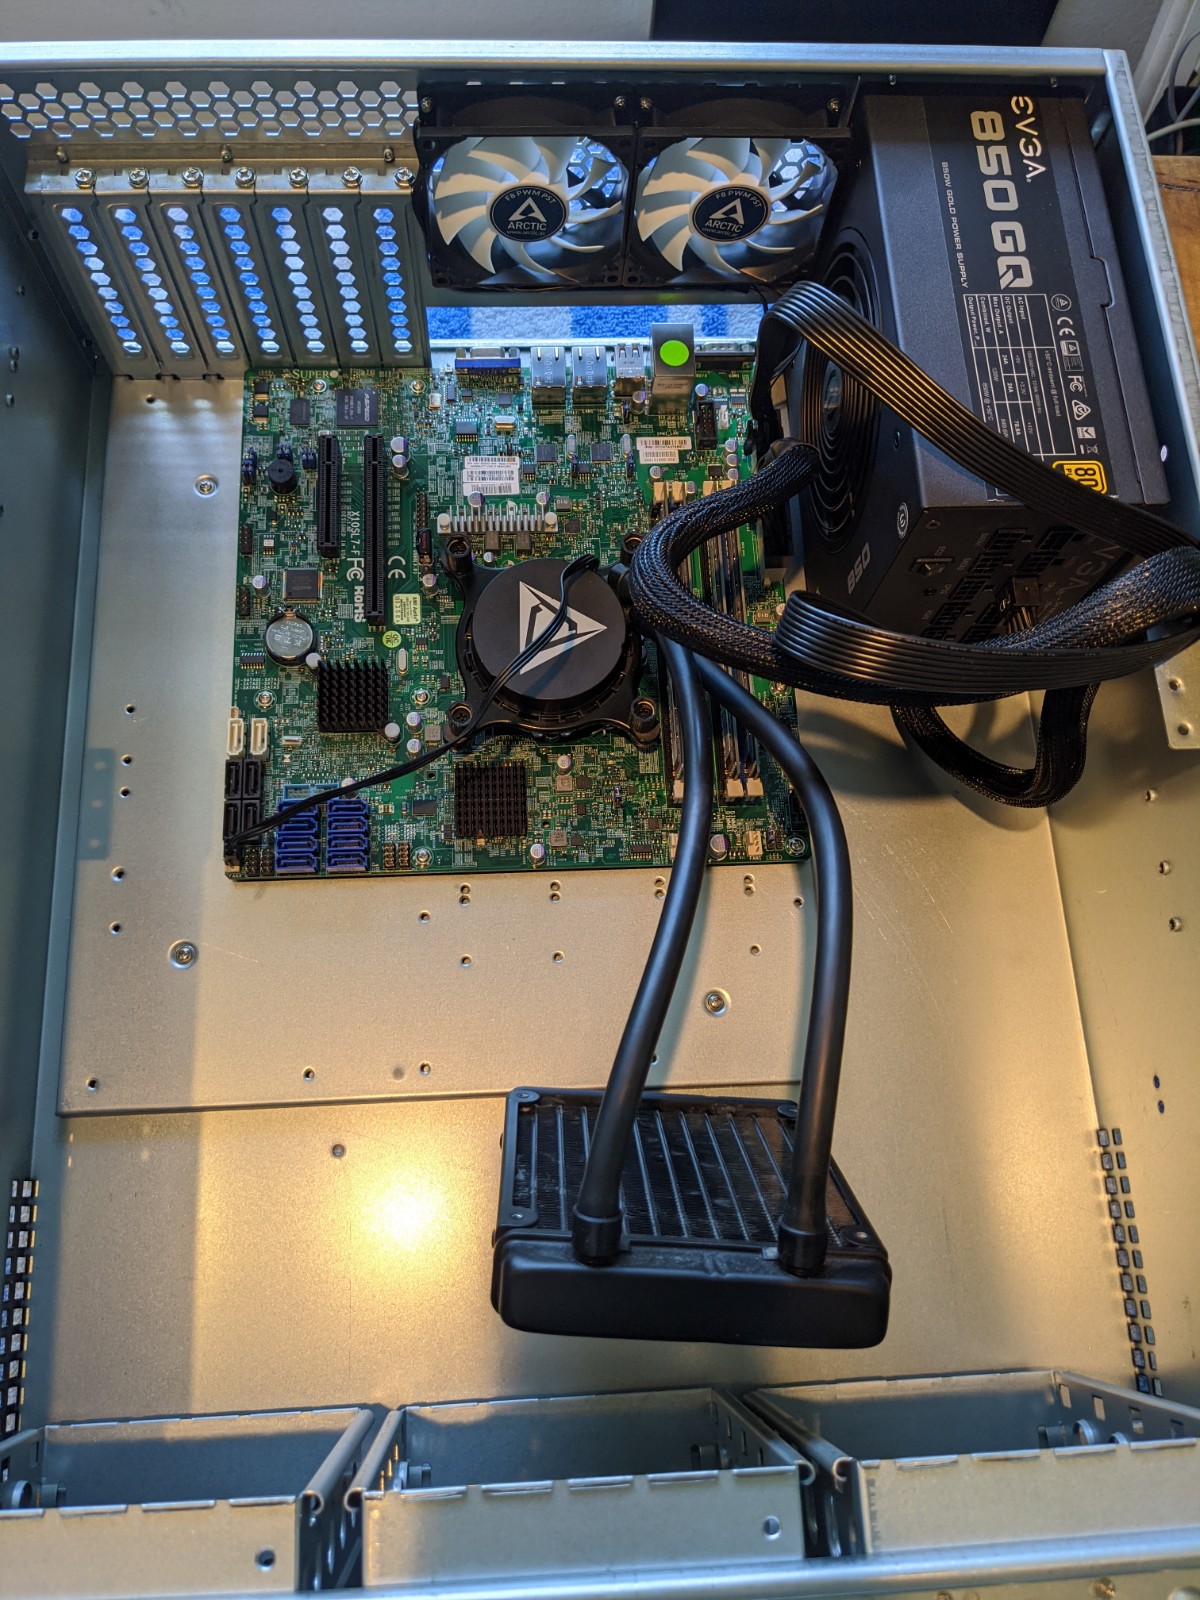
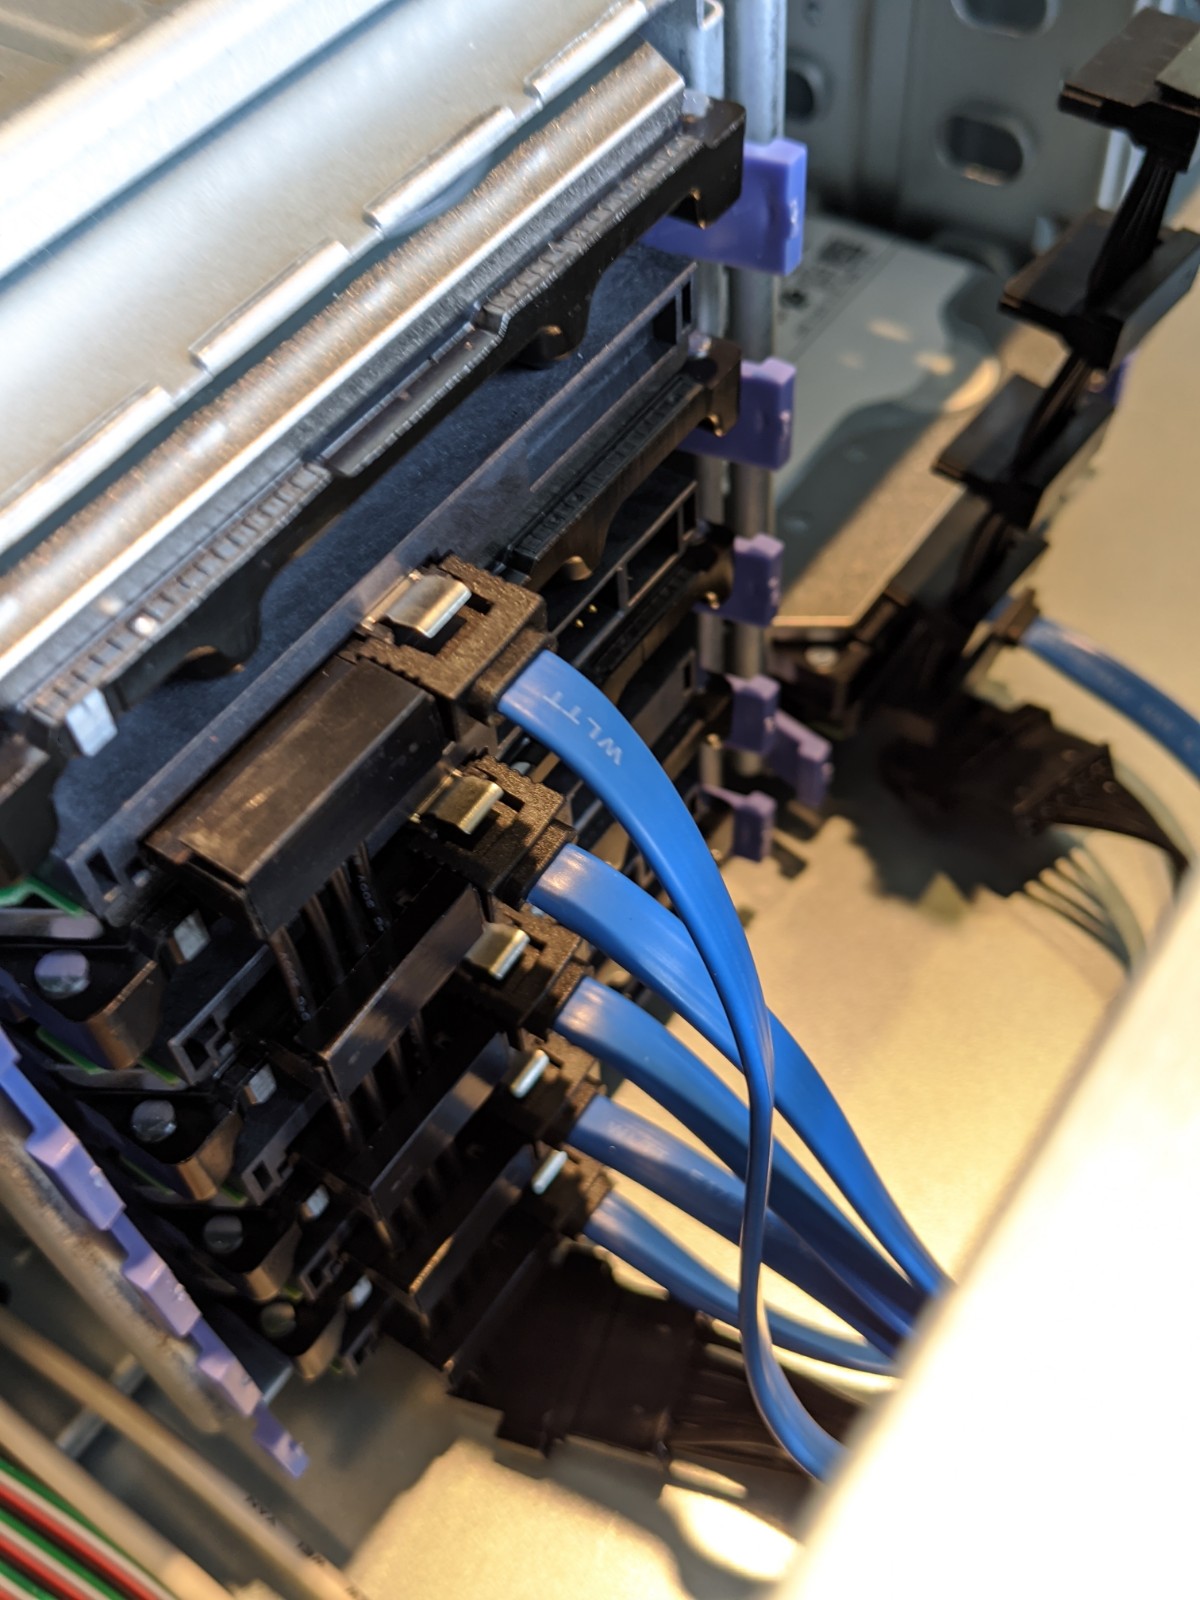
With everything working, I moved to placing all this stuff in the case. I then followed these pictures to custom mod the sata splitter.

I’m really glad I spent the extra time, and a few band-aids later, to customize these cables. It really does make the case that much cleaner, and helps with airflow. I did remove the 5th wire so that I wouldn’t have to worry about the 3.3v disappearing drive issue.
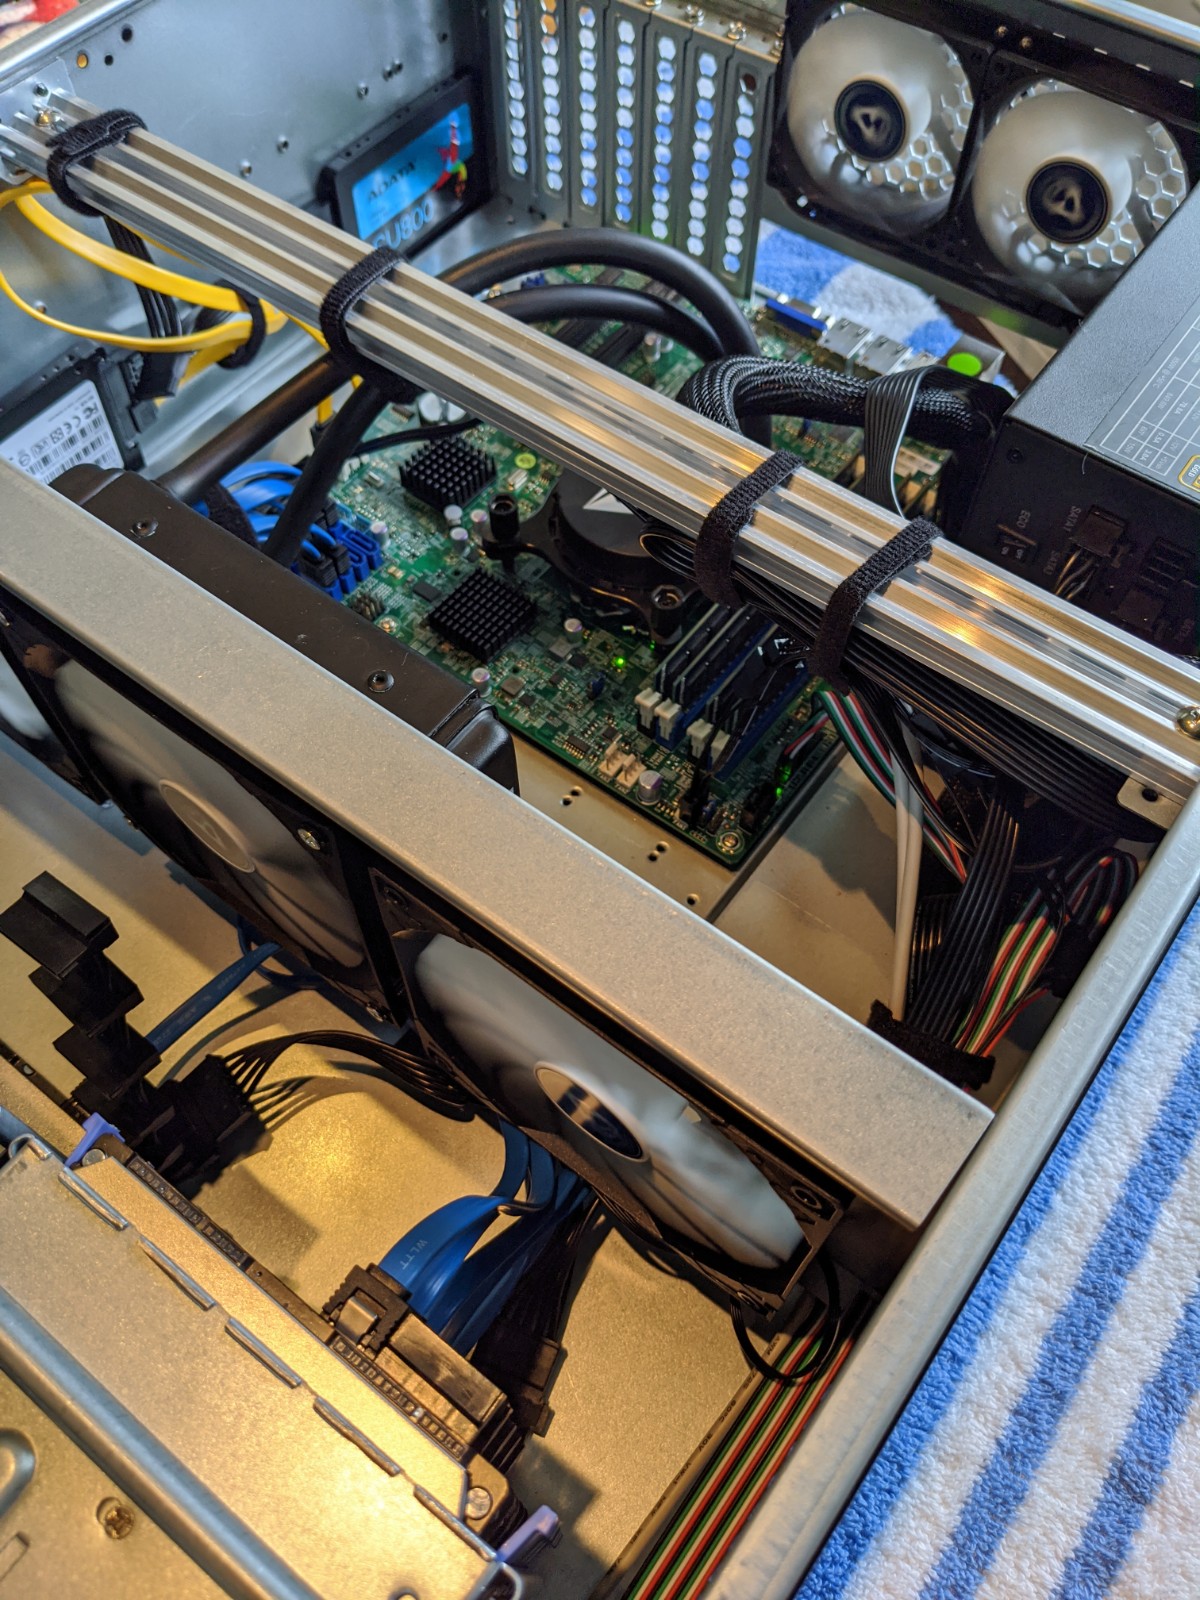
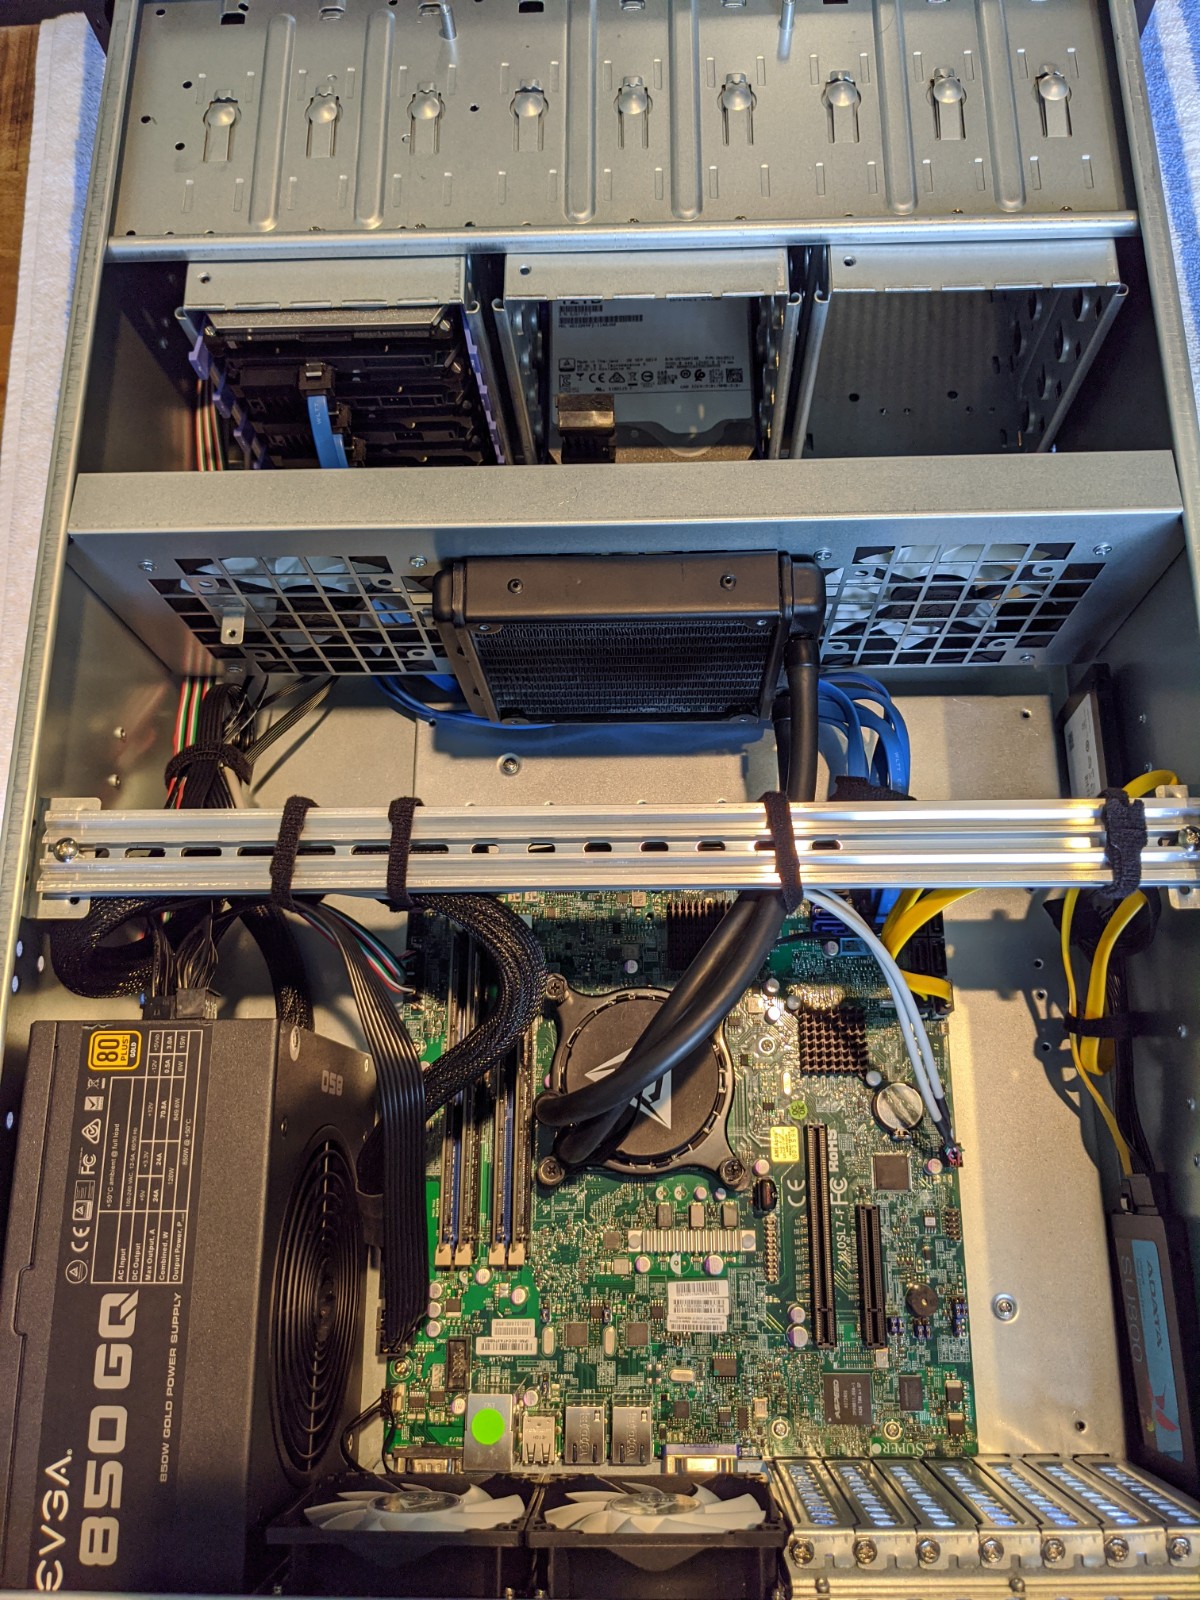
I then finished tidying up the cables, turning everything on, and then peacefully listening to some smooth jazz on the big brain sta…
Wait, what the hell is that fan revving echoing through my house? Turns out the Arctic fans are too low for the mobo to detect. So it thinks they are failing. There’s a couple ways to fix this. JDM has a video about switching the modes in bios. I followed this guide and used one of my 290s and ipmitools to adjust the sensor numbers lower. Seems to work so far.
Now to go make fun of the GF for not having finished her puzzle yet. It took me only 5 months to start this build after buying the parts. What’s taking her so long?