I recently picked up a XT-XINTE 3-Bay Large Capacity HDD Hard Drive Cage Rack from XT-XINTE 3-Bay Large Capacity HDD Hard Drive Cage Rack SAS SATA Hard Drive Disk Tray Caddy w SATA Cable for Computer Accessories
I got the option with no fan or cables. Ordered on 11/25 got received it on 12/7. Not too bad for shipping from China.
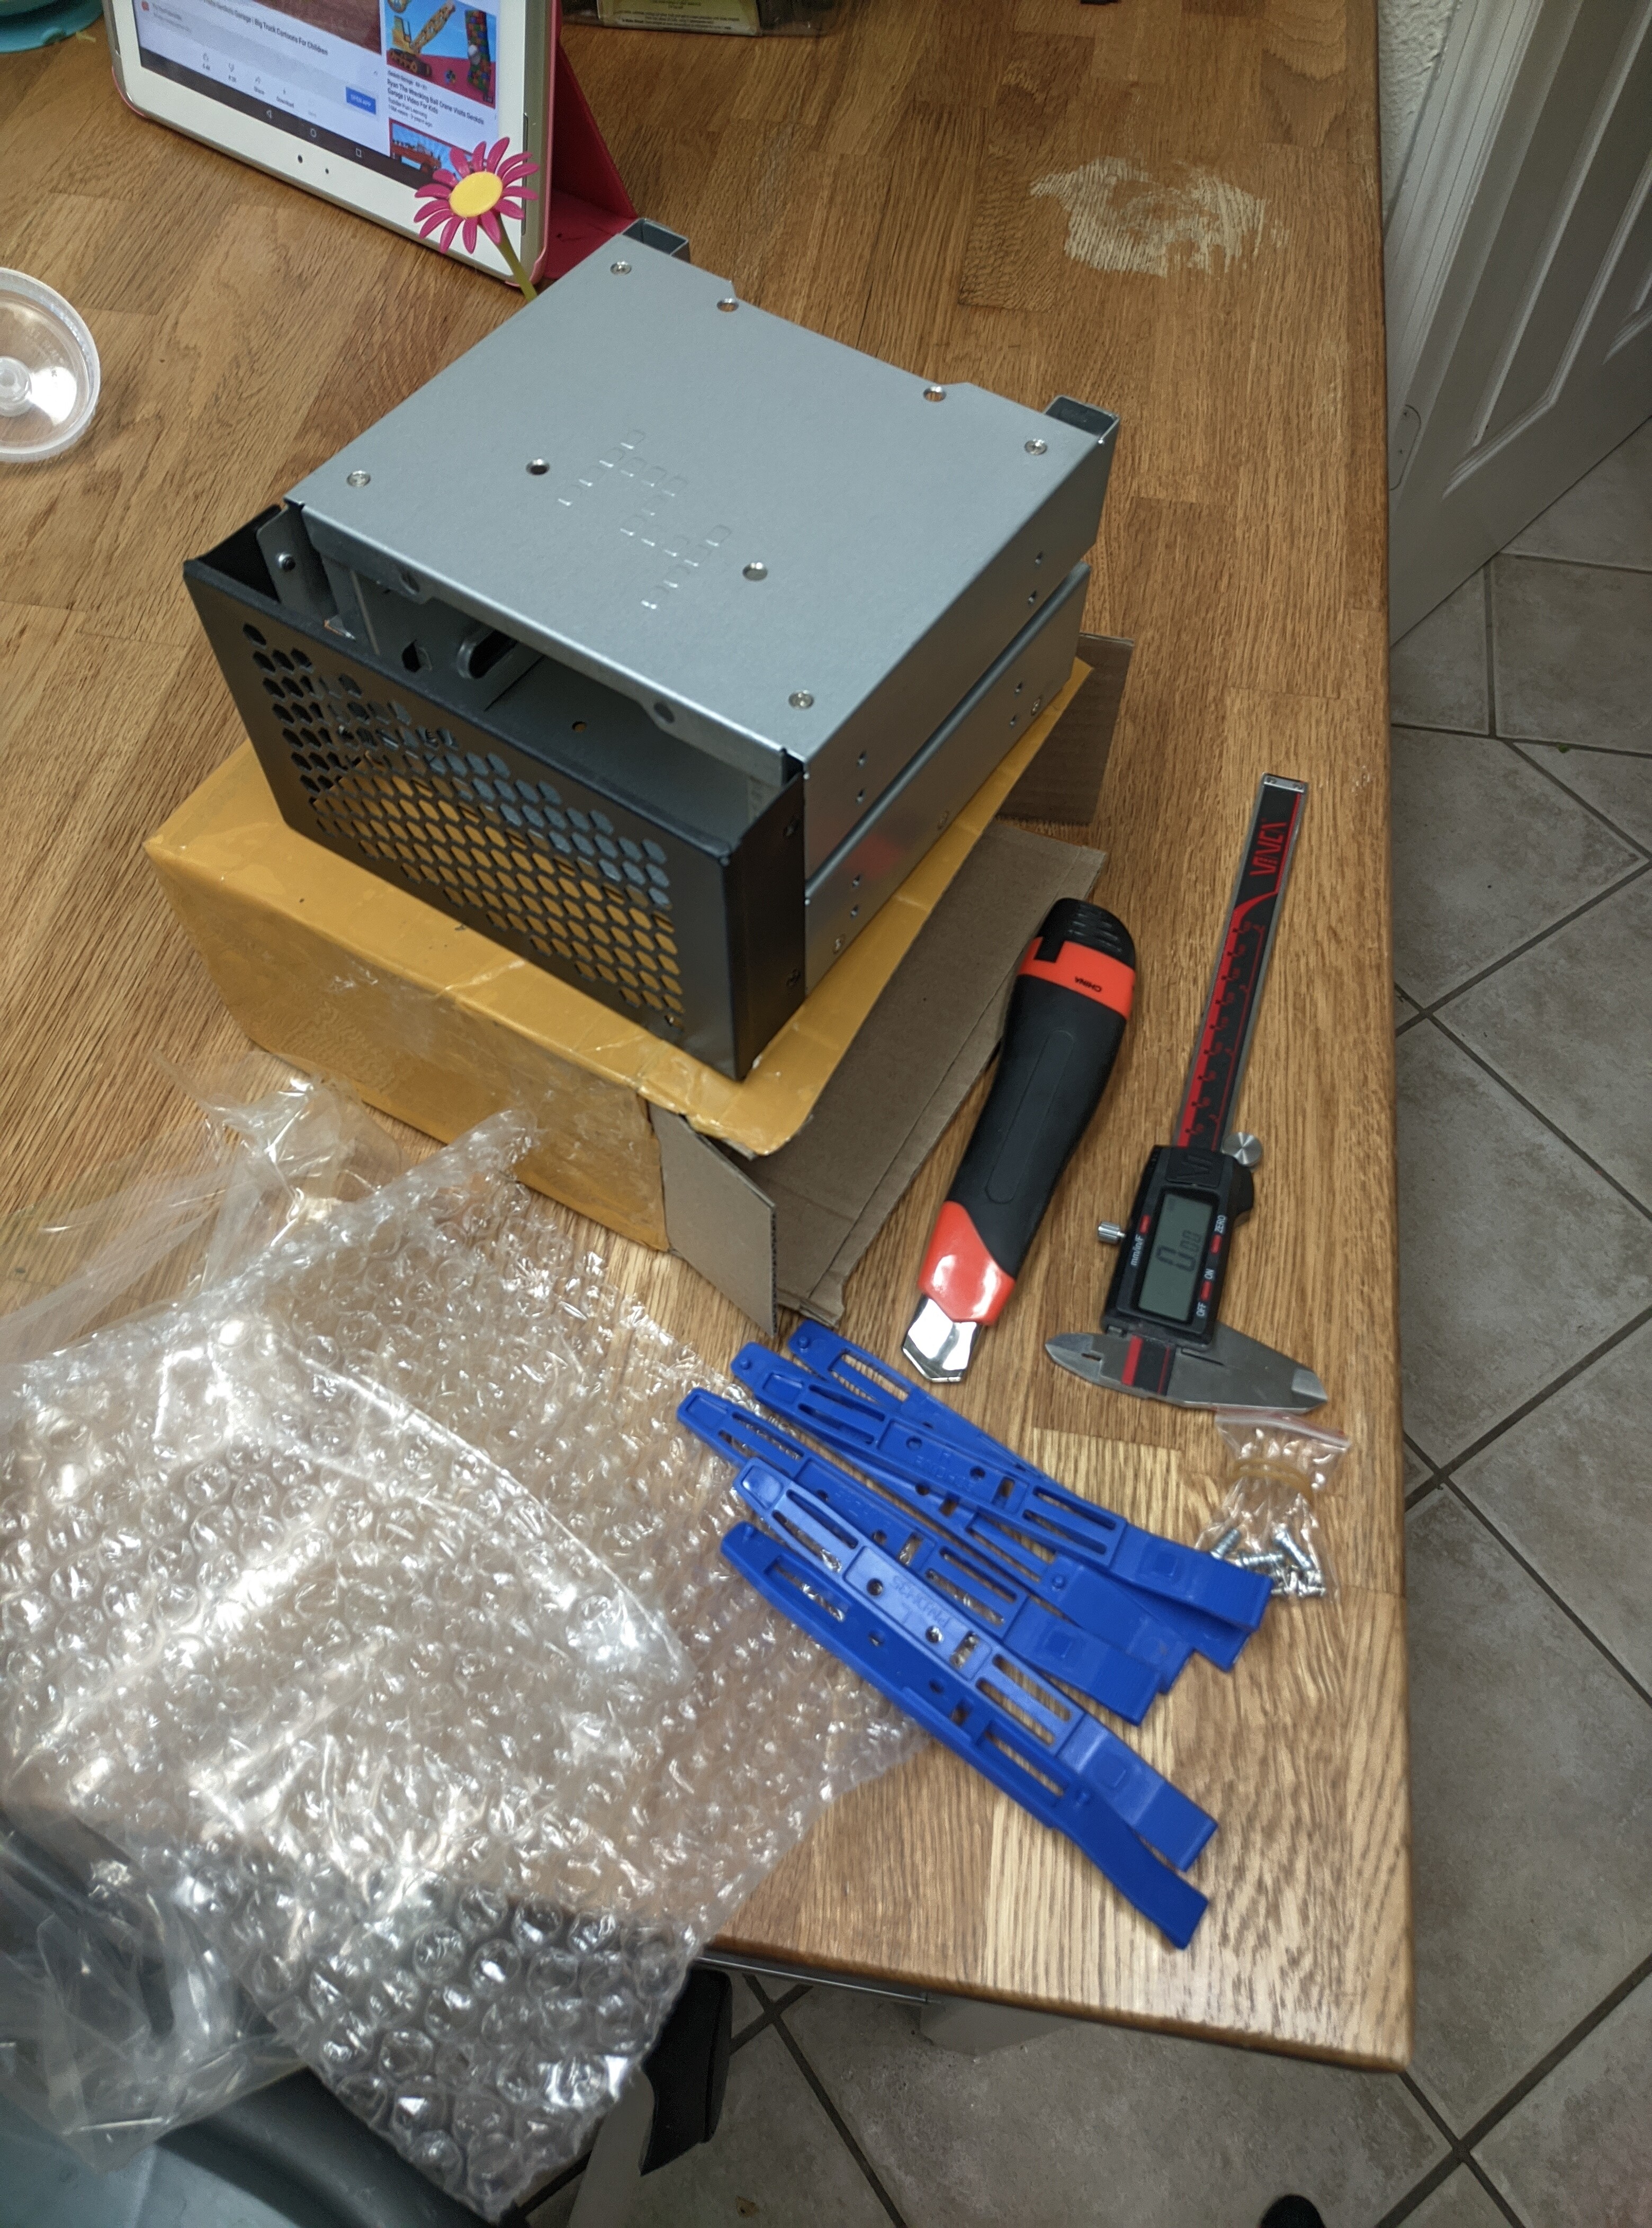
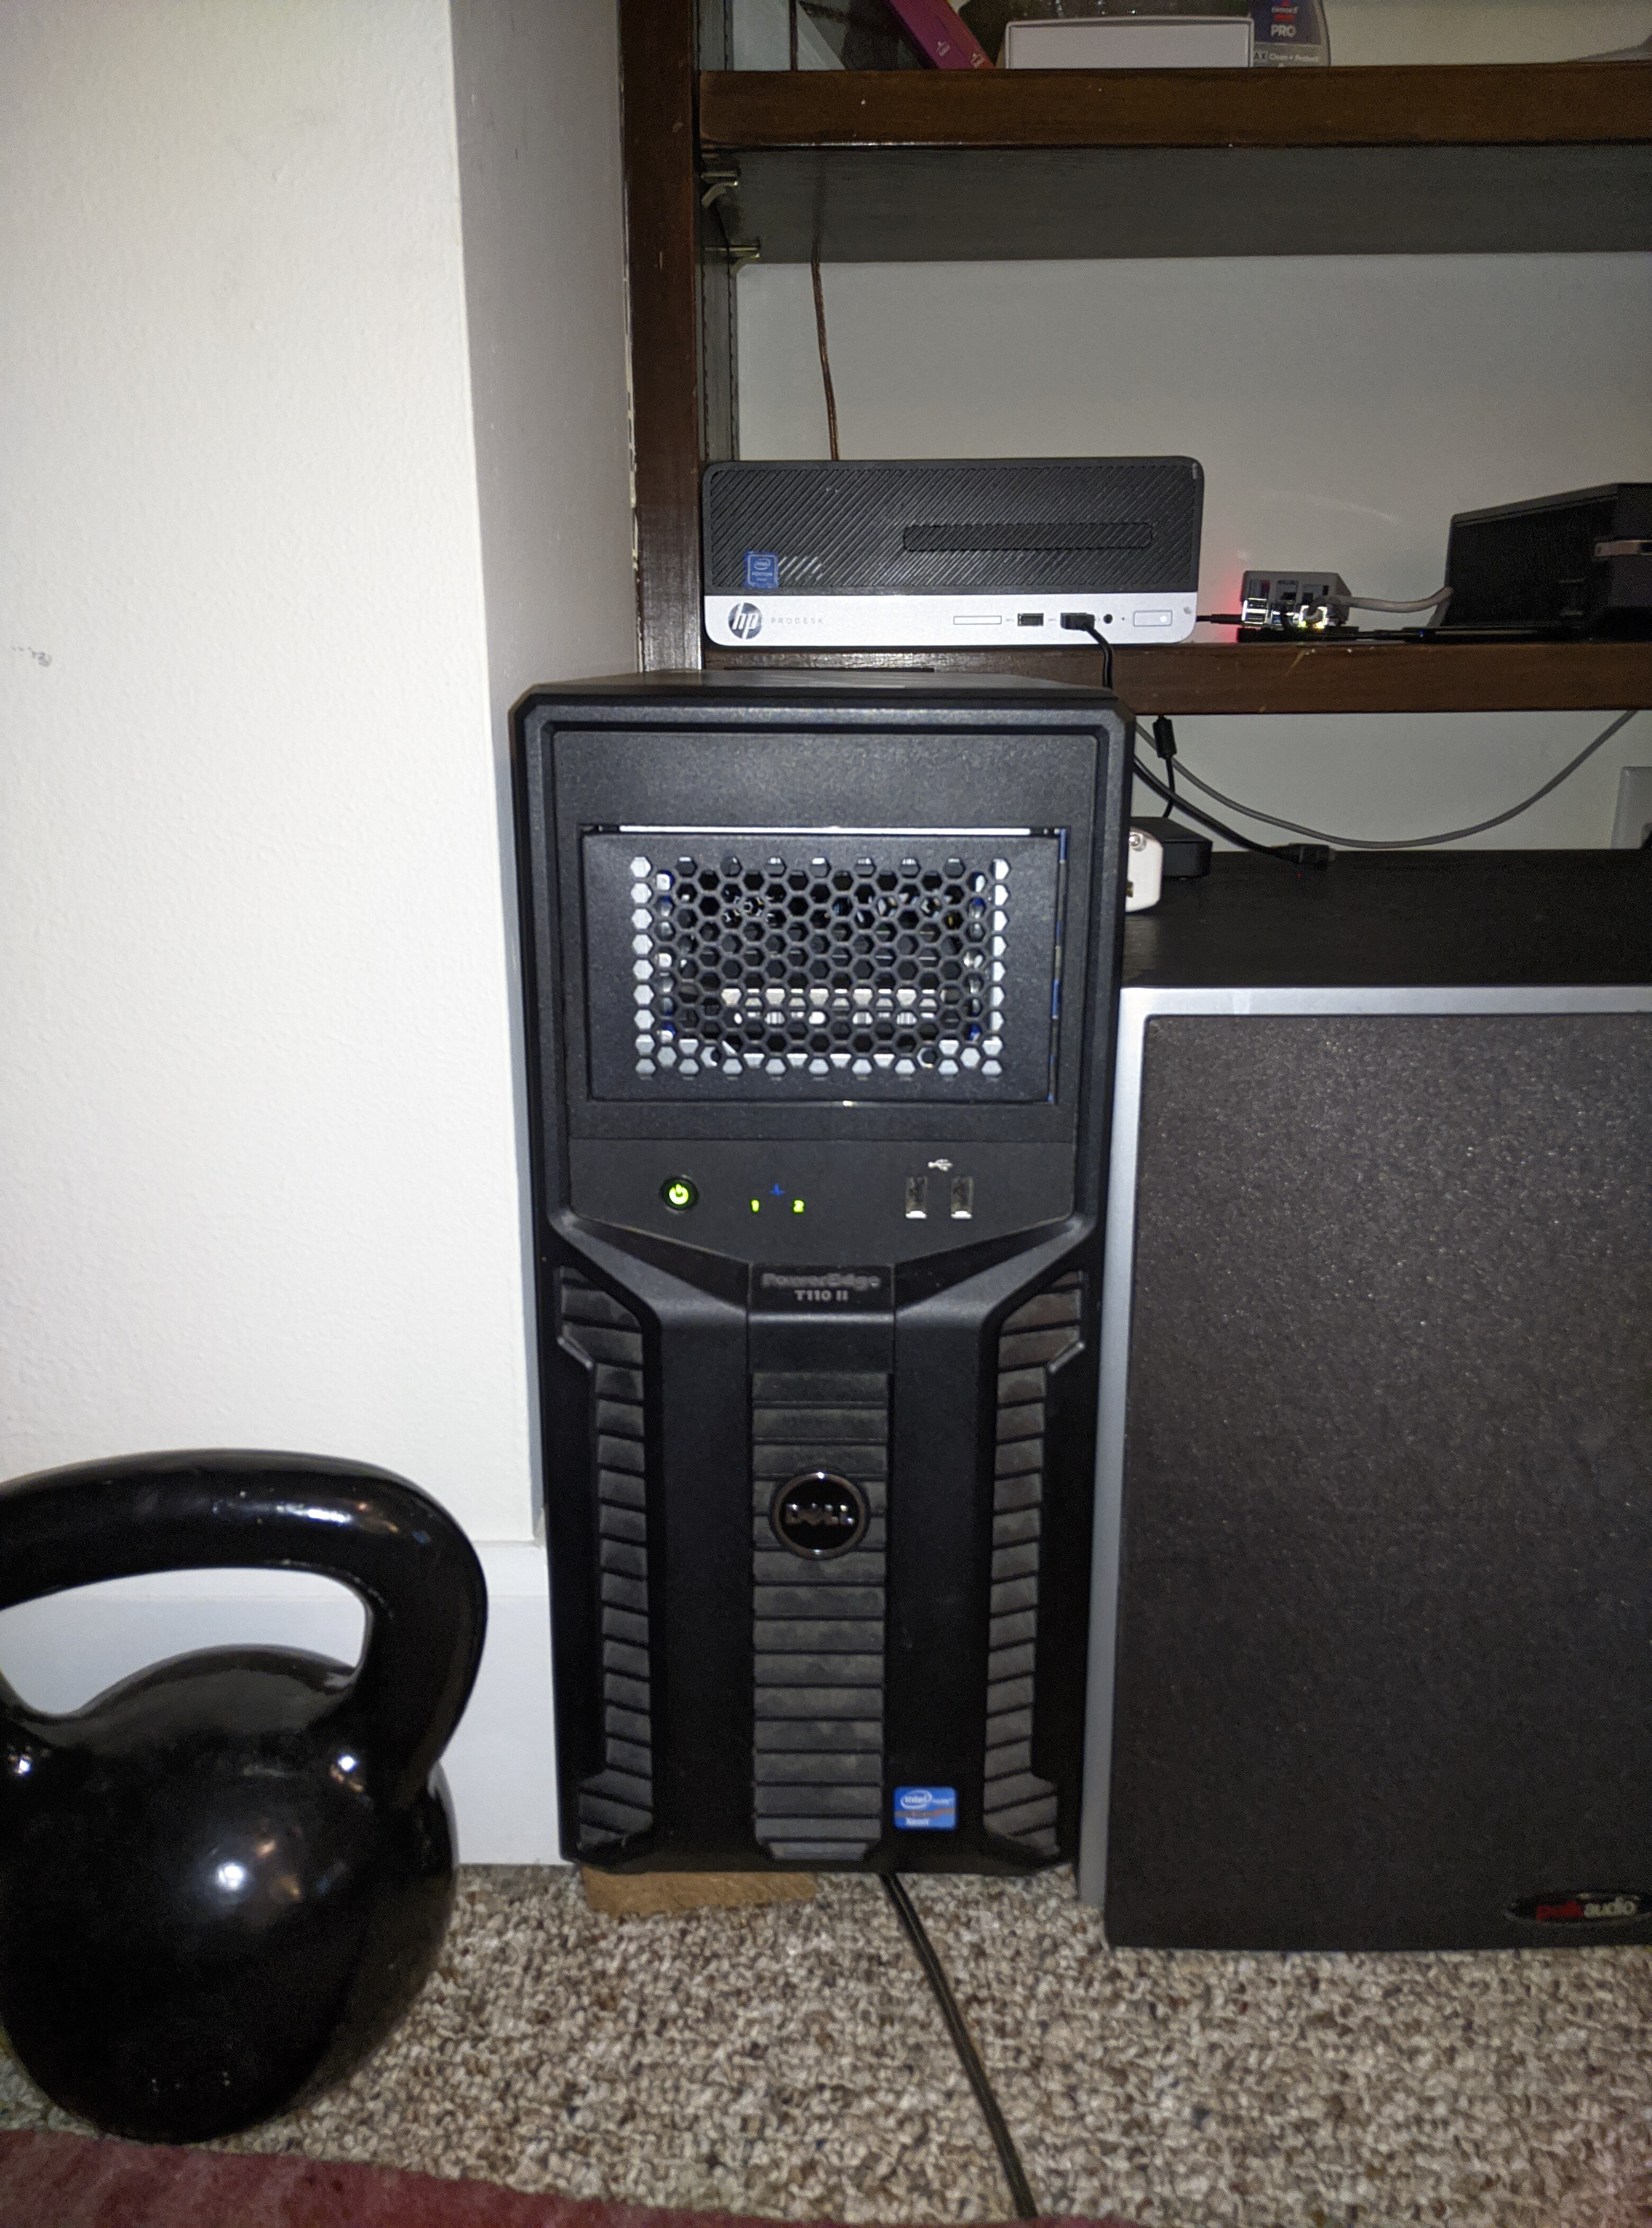
Installed it in my Dell PowerEdge T110ii. I was only able to fit it into my 2x 5.25 bay if I only had one set of screws installed. It didn’t align right and wouldn’t fit with both sets of screws to fit the bay into the case. Came with 6 rails. The rails fit into my HGST SAS drives, and the drives slid in solidly. I only have drives in slots 1 and 3, since I only have 2 drives, but it seems like it should fit a 3rd drive fine. I plan to get a fan to add to the front. Seems like it should fit an 80mm fan, but can’t say for sure until I get one, screw holes for the fan are about 70mm x 70mm apart. The front grate holes are a little big, but it’s not too bad.
The other bay I was considering was the EverCool Dual 5.25 in. Drive Bay to Triple 3.5 in. HDD Cooling Box Amazon.com but I prefer the rail mounting system on the XT-XINTE, and it was cheaper.
Here are a couple of pictures. If you have any questions or want more pictures, let me know in the comments and I’ll do what I can. I’ll post an update when I install a fan.
Bit of an update. I just added an 80mm fan to the front and it fit the screw holes perfectly. To get the fan cable out the back of the cage I had to remove 7 screws (3 side, 2 back, 2 top) and pull the side to make the opening big enough to run the fan power cable through the cage and out the back. It was a little annoying, but not too challenging. Unfortunately my fan cable is too short and my mobo uses a non-standard fan connector, so I’m not able to run the fan just yet. I’ll report back once I get it up and running. Sorry for no pictures.
Added the front fan and things are significantly cooler. Like 10 degrees. When there are 3 drives in the cage there isn’t much room between drives and they’ll heat up pretty quick. The fan really helps to keep cool air moving over the drives.
Went from around 53 to 50 when just sitting around not doing anything for the hottest disk. Bigger impact was seen when doing a parity check. During parity check the hottest disk would get over 60, last night when I ran parity check it didn’t go over 55. That made the whole effort worthwhile.
I didn’t include all the headache with the non-standard fan connector on my Dell mobo.
Many thanks for this detailed review, @badi95. Having also recently acquired a Dell PowerEdge T110 II tower (thanks, @JDM_WAAAT!), I am considering this drive cage. If I may, I would like to ask a few questions to better understand how to keep it cool:
One of the photos on the product page shows a fan. Is one included with the drive cage? If so, did you use the included fan or a different fan?
You mentioned a non-standard fan connector on the Dell motherboard. How exactly did you end up connecting/powering your drive cage fan? I’m looking at the motherboard diagram on page 126 of the owner’s manual, but I don’t understand where the fan connector(s) might be.
Could you possibly post a few photos that show the interior and how you connected your fan?
I ended up buying this fan for the cage Amazon.com
I used this adapter to connect the fan Amazon.com
Then replaced the main cpu fan with this fan Amazon.com
Basically I connect that adapter to the mobo, then use the pwm pst feature to daisy chain the fans. I’ll try to get some pictures when I get a chance to open it up. It’s sort of a process to get everything out of my closet.