Hello everyone! I don’t use reddit much but wanted to show off my build anyway. This is less of a “I finally completed my build” post and more of a “I got the setup as good as it can be right now”. I’ve had this built for well over a month now and have been tinkering around with a few different setups to find out where I like it the best.But first let’s talk about the build.
I decided to build the NSFW build after looking over JDM’s other guides for the simple reason that upgradability is a huge factor for me and even though these boards are fairly dated by PC parts standards, the built-in functionality means that this board will serve my purposes for many more years to come. It didn’t take me long to see the potential of this build and not long after, I took the first step into the rest of my life and this little beauty showed up at my door.

I was excited to say the least, but I still had a long way to go before I was running my own rig. After purchasing 4 sticks of 16gb memory, two e5-4650’s and a couple of coolers I was off to the races. I set everything up on a cardboard box and…nothing happened. In my rush and excitement I had accidentally purchased the wrong processors. After kicking myself several times and finding a nice deal on a pair of E5-2680’s, I booted and was ready to rock and roll. I had built several PCs before so installing components was nothing new to me. I counted and double counted my standoffs, made everything look nice and pretty, and marveled at my handiwork.

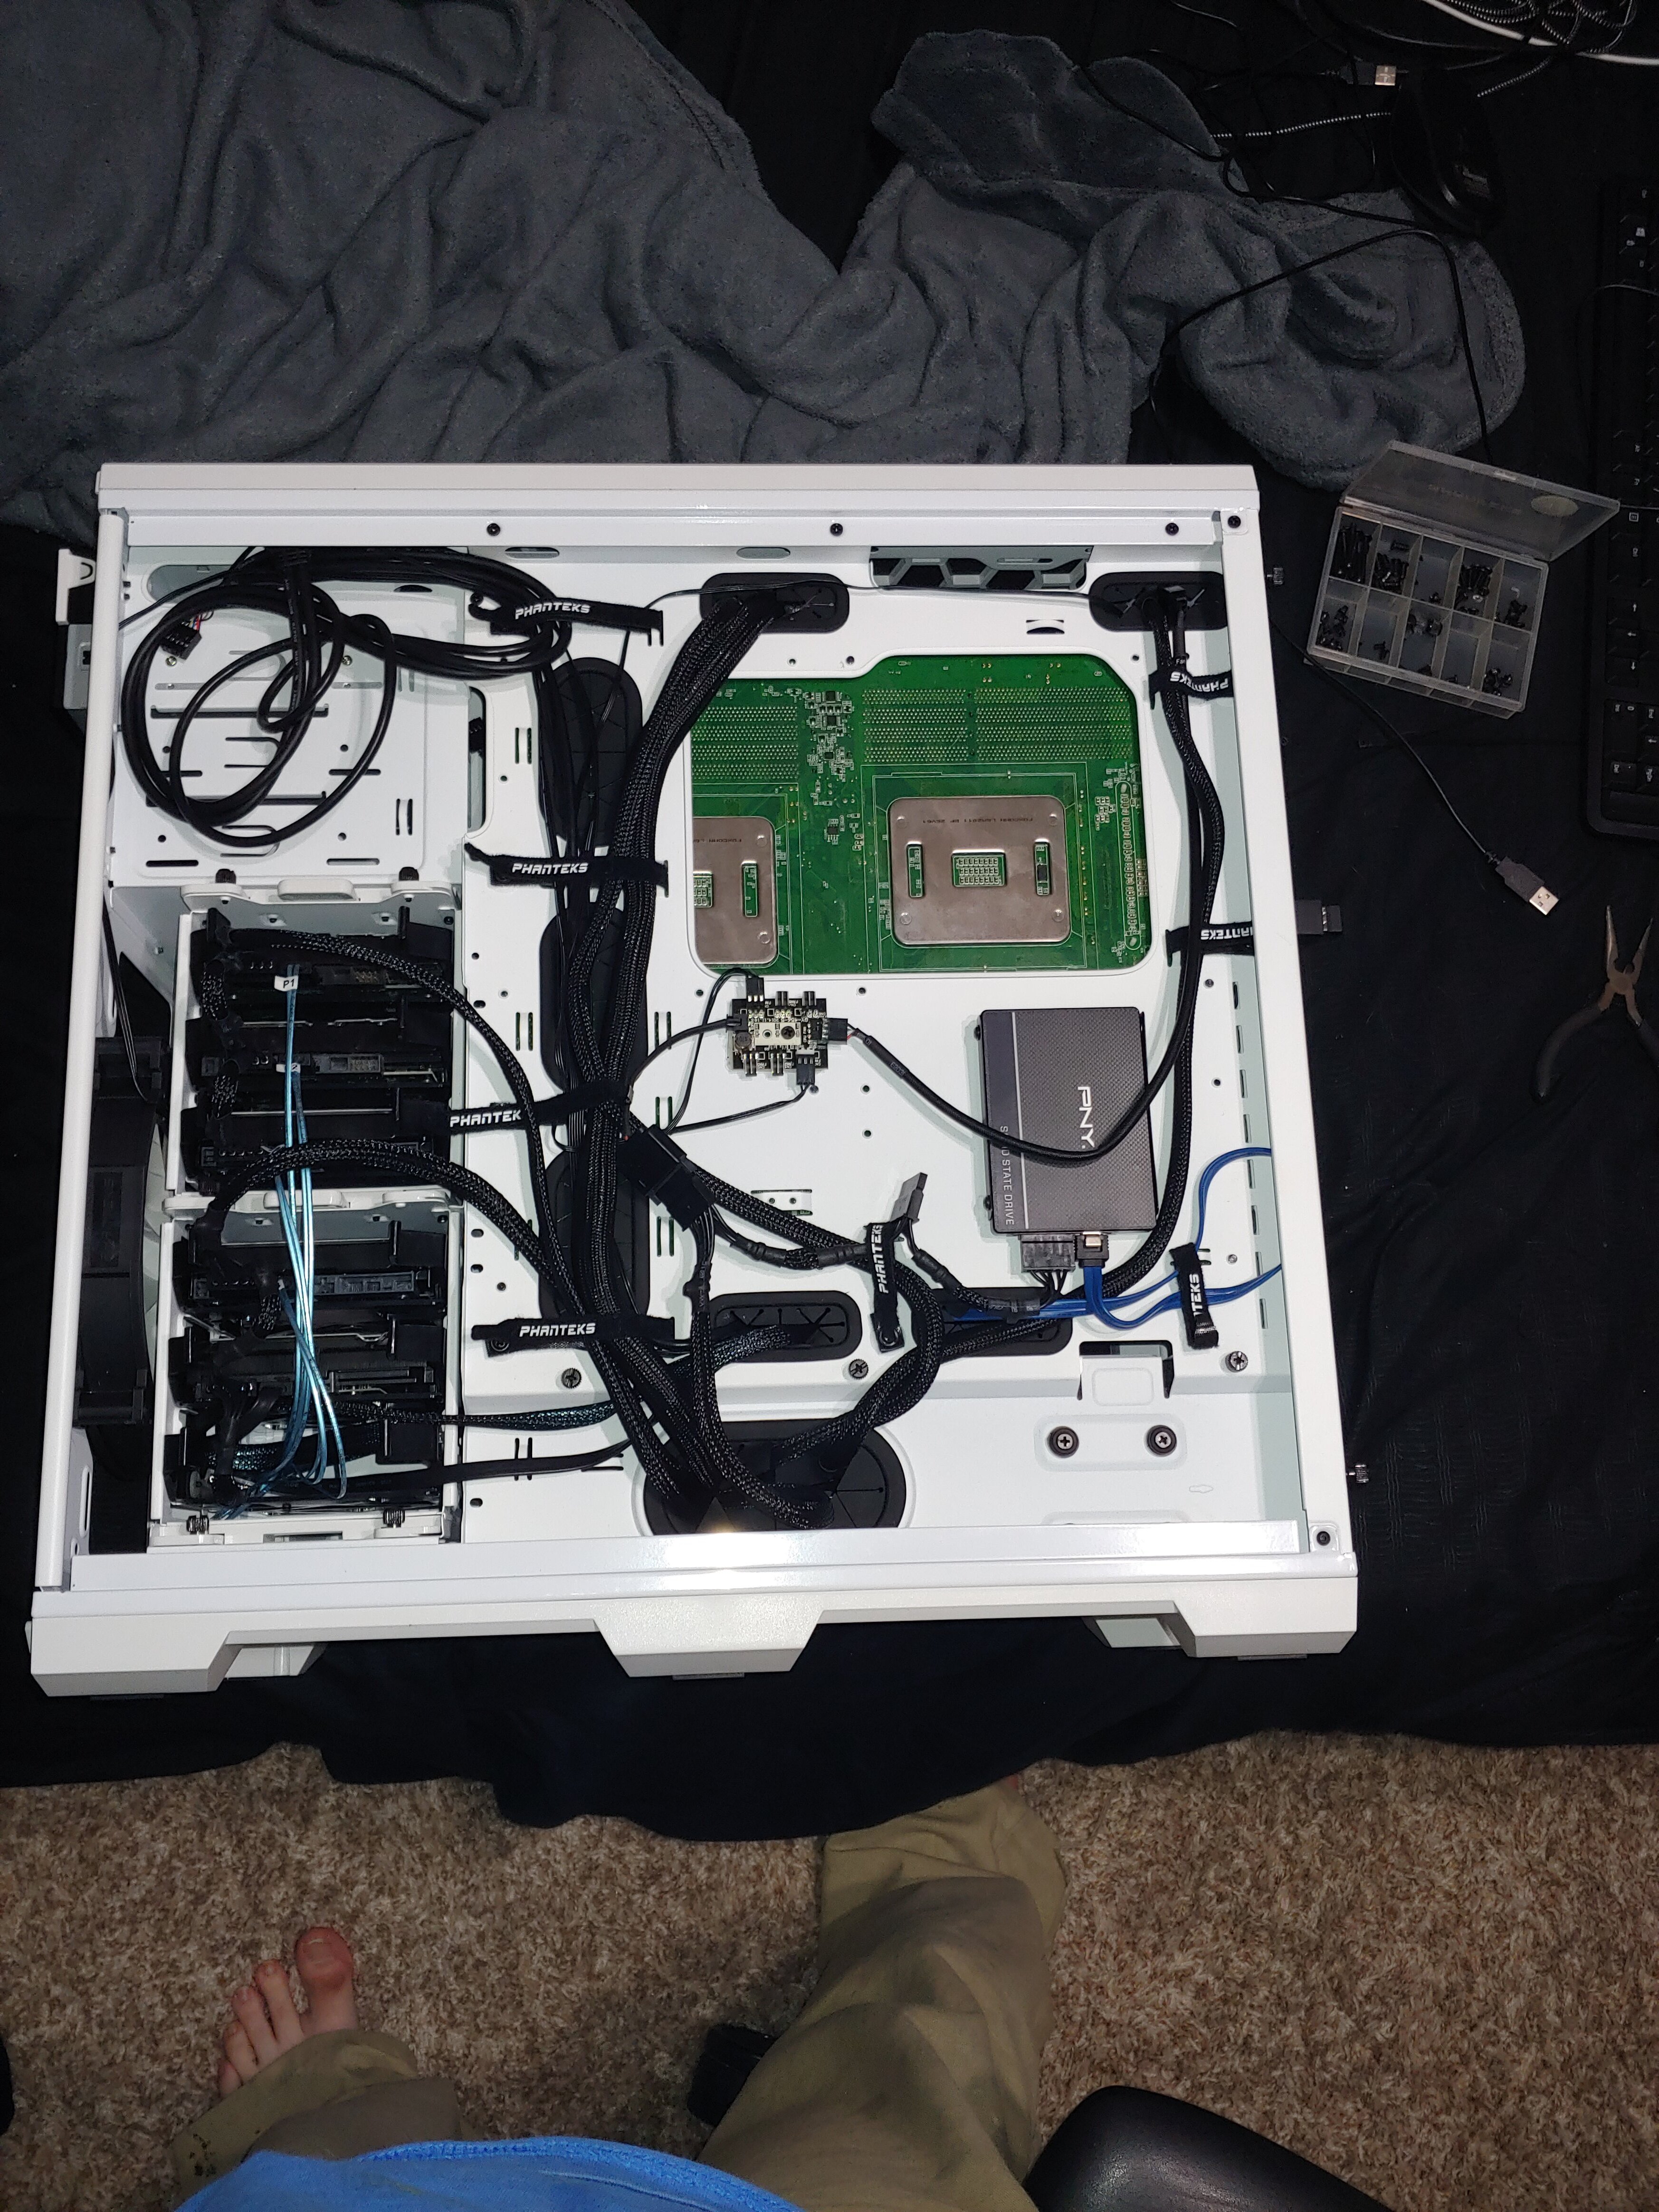
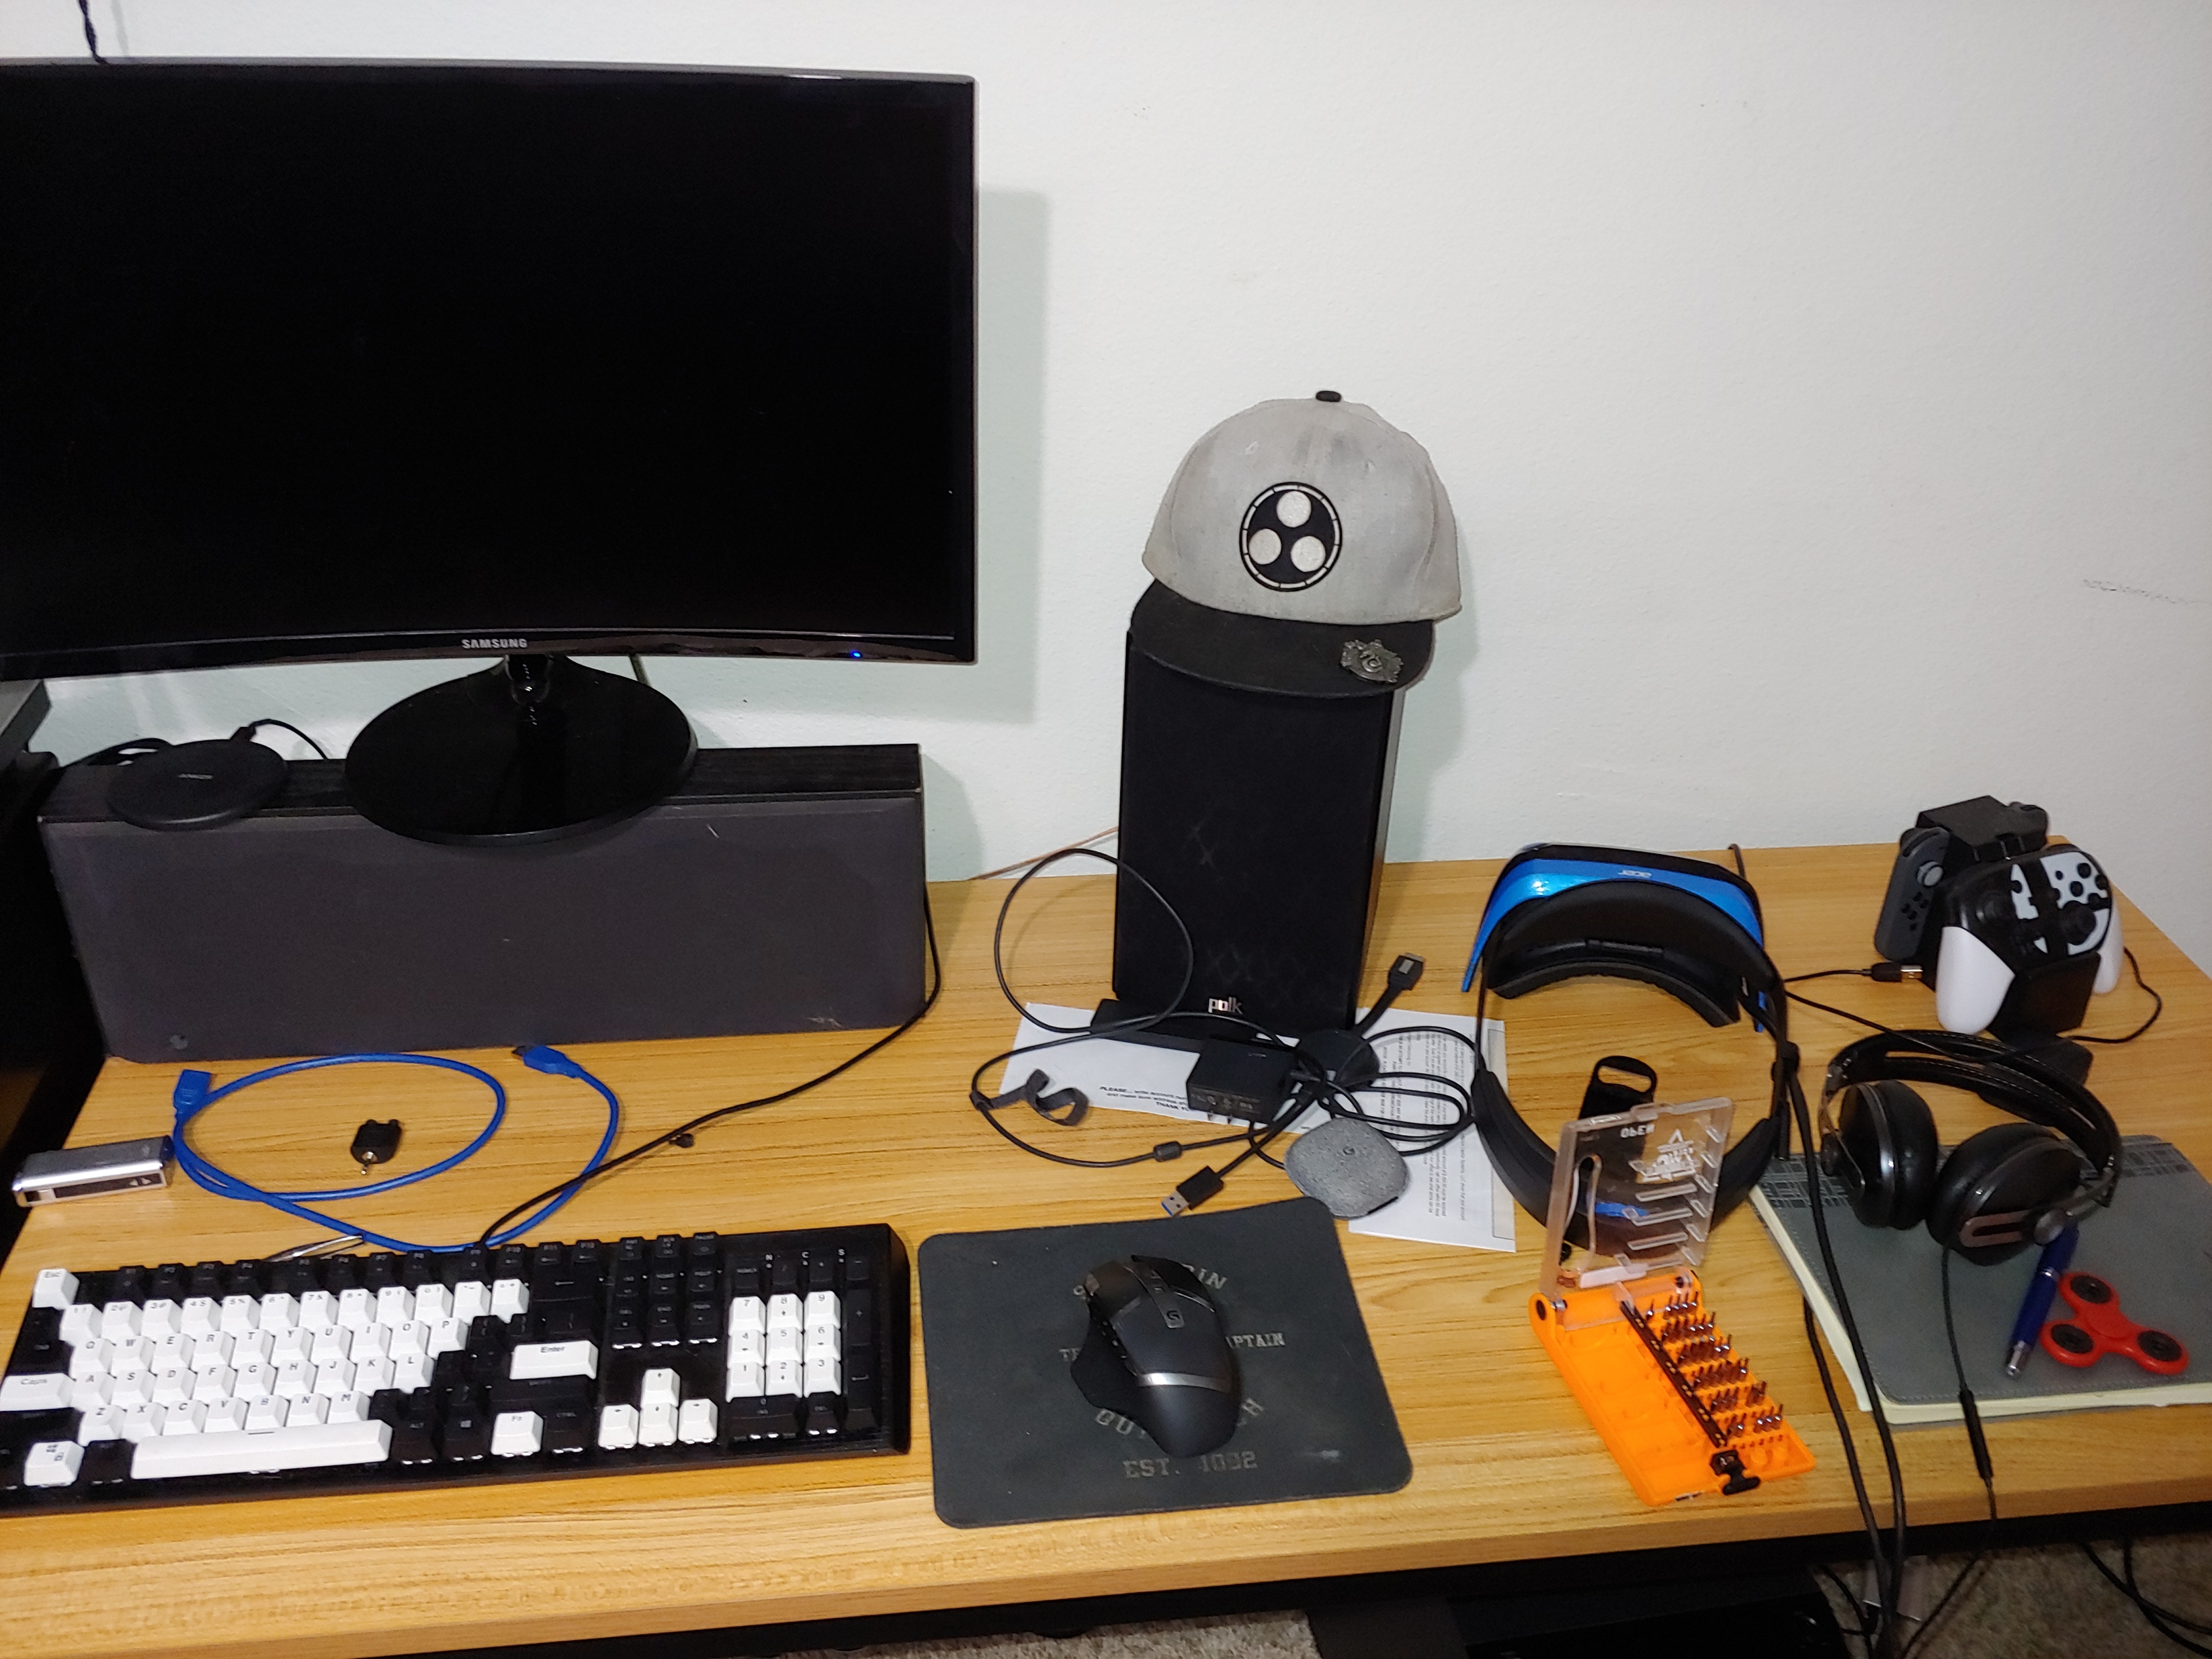
That first time booting was pretty nerve racking. The whole time I kept wondering what certain noises were, certain that I had forgotten something and was about to kill my entire investment with nothing but stupidity. To my surprise, there was no fire, no smoke, no burning plastic…I had done it. The relief I felt that first time I booted from inside the case is indescribable (maybe that’s just me). It was right about that time that I looked around at the disaster that had unfolded around my room during the process of setting this thing up and putting everything where I wanted that it struck me…I never actually planned on where I was gonna put this behemoth. I couldn’t put it on the carpeted floor of my bedroom since I loaded this thing down with fans and it would just suck up all the cat hair in my apartment. So for the longest time it was hidden away in my closet where no one could see it. Sure, I’d walk in there every now and then and get to see it, but this thing was my first work of art. It should be on display!
Over the weekend I decided to repair this egregious error and also set up a DAS in my workstation in order to increase the upgradability to my array. I also decided to swap over to water cooling while I was fiddling with everything since I had a cooler from a b-stock sale just lying around. I split my array between my server and my workstation and everything worked flawlessly. Here’s the before/during/after of the setup.


Well guys, I had fun doing this build and I am really thankful for all the information presented here and on the discord. I definitely couldn’t have done it without help from you guys.
I’ll be updating this periodically as the build evolves over time, as of 5-19-2019 the parts list is as follows:
Case: Phanteks Enthoo Pro
Motherboard: Gigabyte GA-7PESH2
RAM: 4x 16gb DDR3 ECC
CPU: 2x Intel XEON E5-2680v1
GPU: EVGA GeForce GTX 1060 6GB
HDD: 1x 5TB, 2x 4TB, 1x 3TB, 2x 2TB
