As a civil engineer (computer chimpanzee), I bumbled my way through the build. Seem to have gotten one of the last GA-7PESH2 boards (which are LSI 2008, extremely stupid recent past self) when it was still $175 (which is also the total price I quoted to my wife ![]() .)
.)
| Part | Model | Price |
|---|---|---|
| Motherboard | Gigabyte 7PESH2 | $175 |
| CPU | 2x Intel Xeon E5-2620 (SR0KW) | $39.96 |
| RAM | 4 x 8GB Hynix PC3L-12800R ECC REG DDR3-1600 RDIMM | $54.99 |
| Case | Cardboard on a Shelf | $0 |
| PSU | EVGA SuperNOVA 750 G+, 80 Plus Gold 750W | $59.99 |
| etc. | Kingston Digital Flash Drive 64GB | $11.99 |
| 2 x Arctic 34 eSports DUO | $69.92 | |
| GELId GC-Extreme 3.5g Thermal Paste | $13.50 | |
| Base Total | $425.35 | |
| Local Storage | Silicon Power A55 256GB | $28.99 |
| Cloud Storage | 6 TB of OneDrive | incl. w/ O365 |
| OS | Win 10 Pro | $5.99 |
| Grand Total | $460.33 |
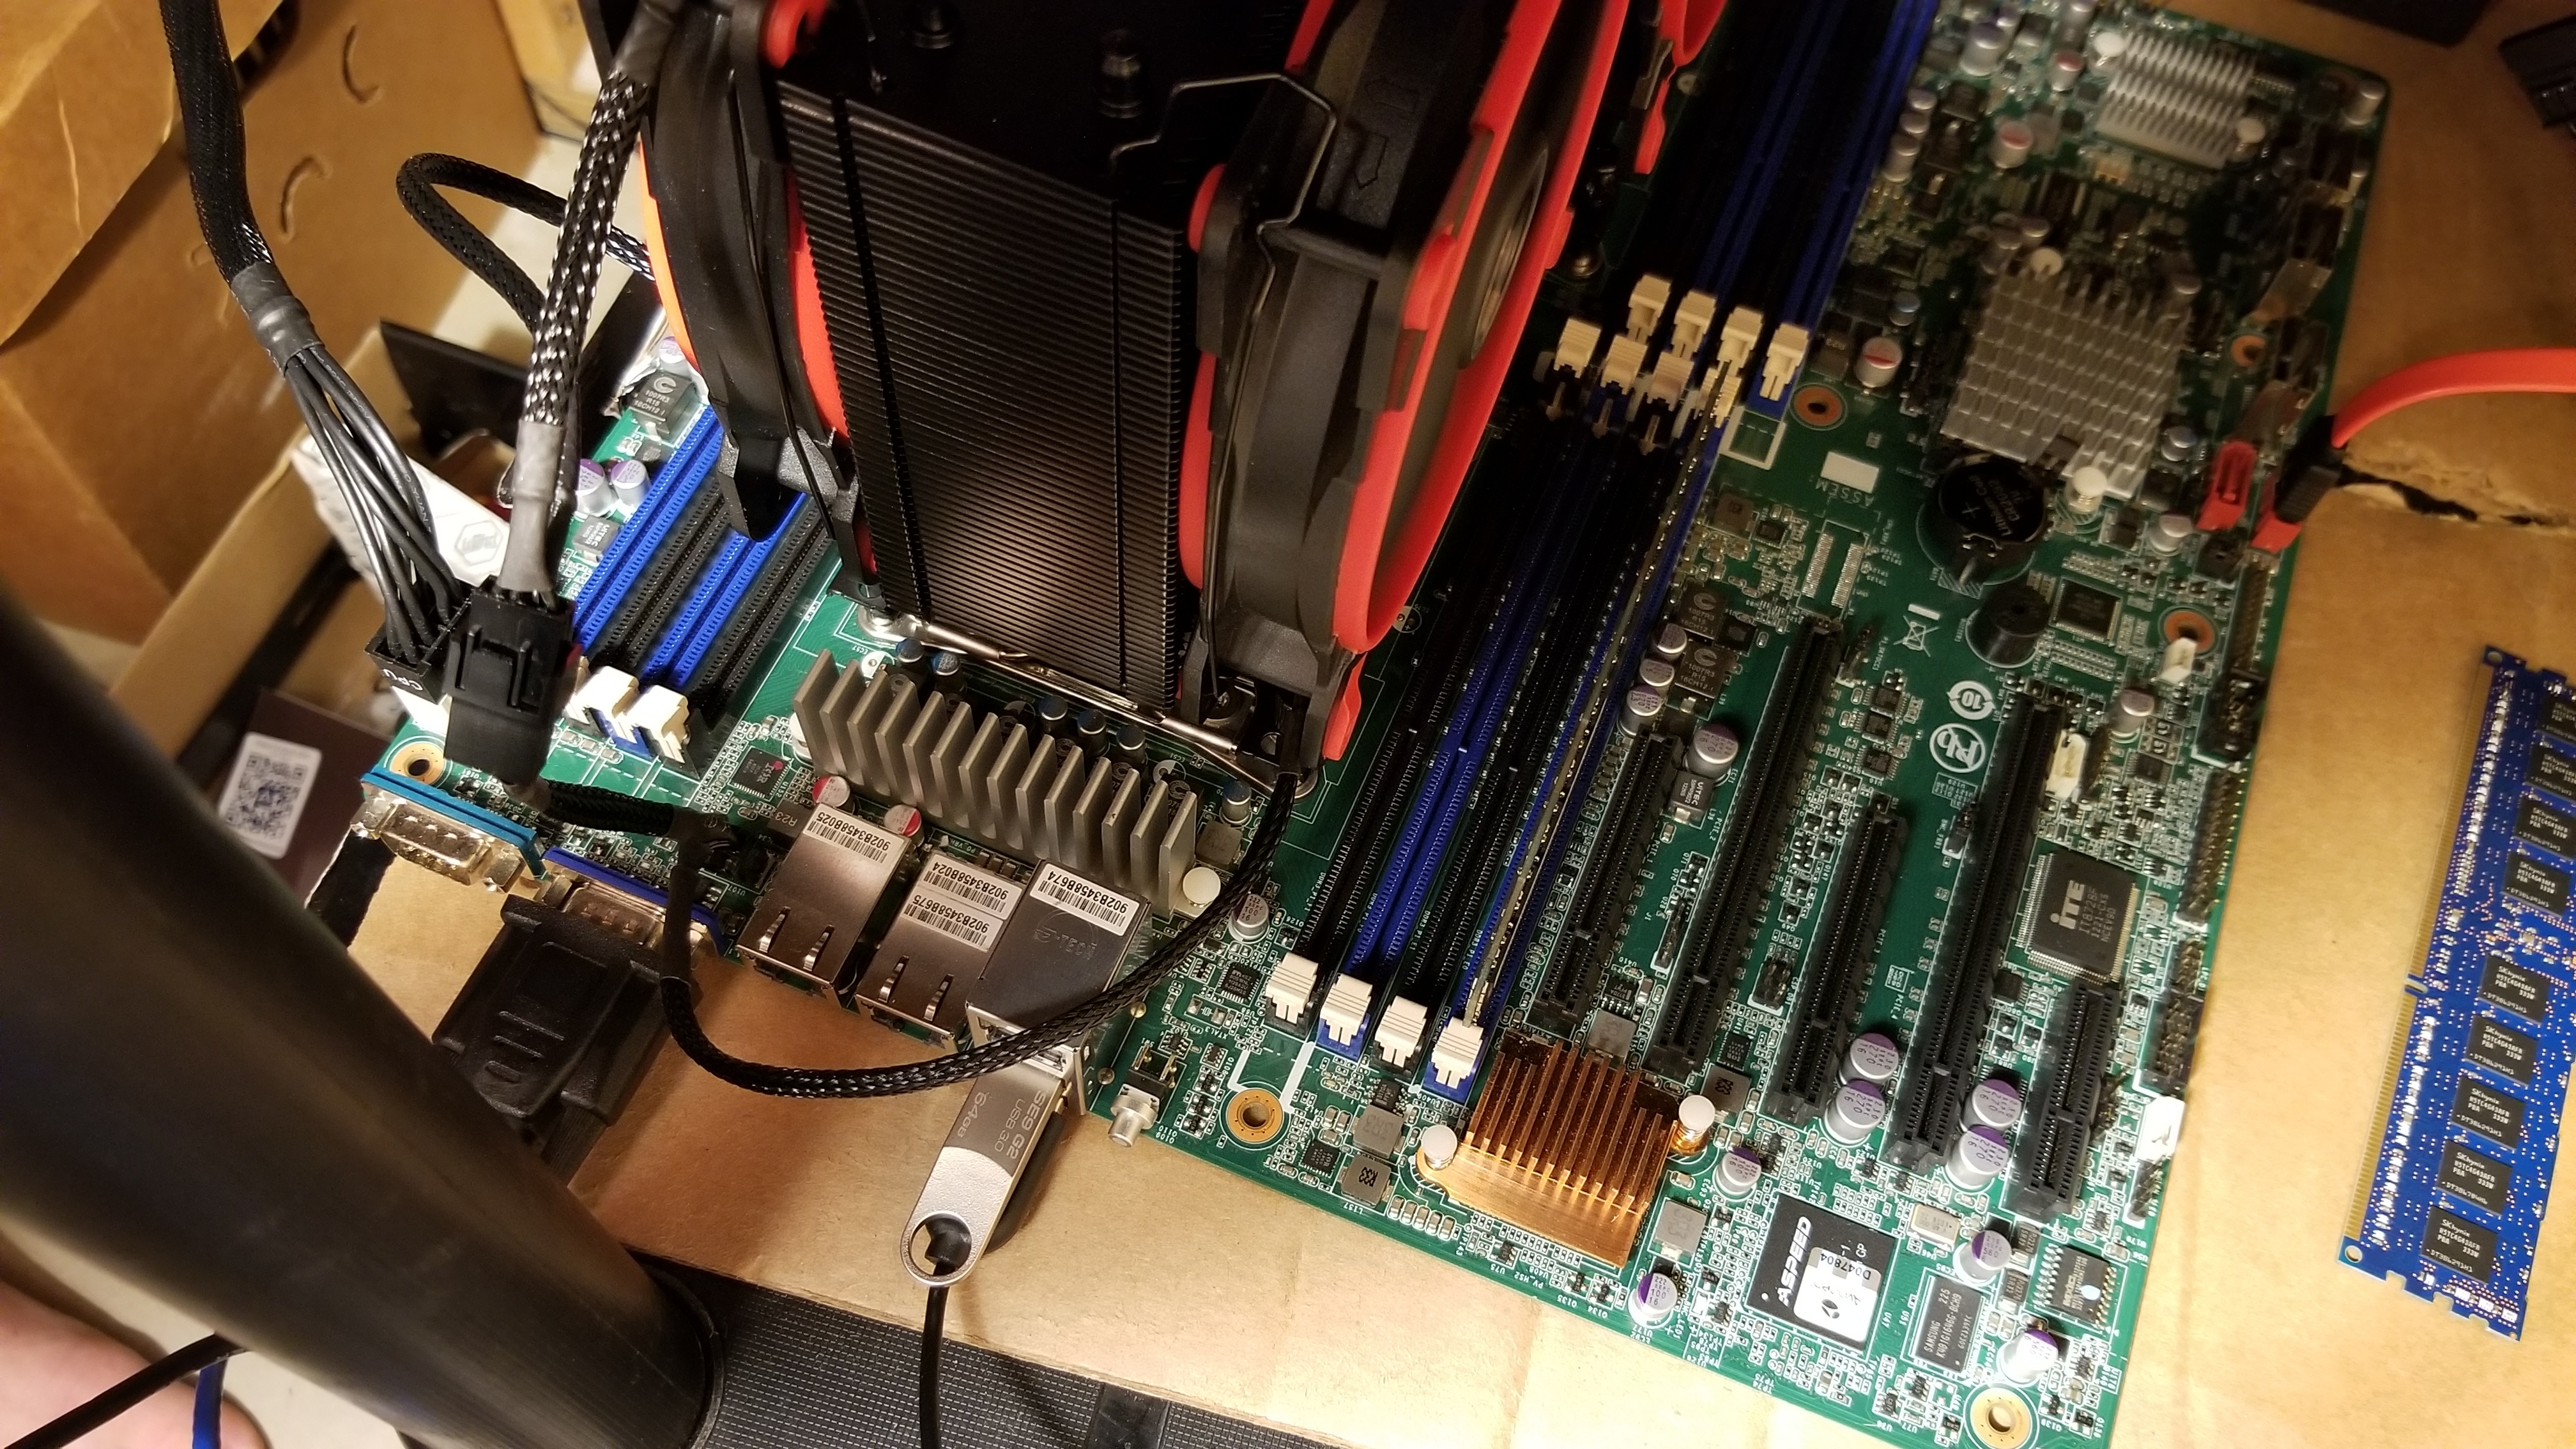
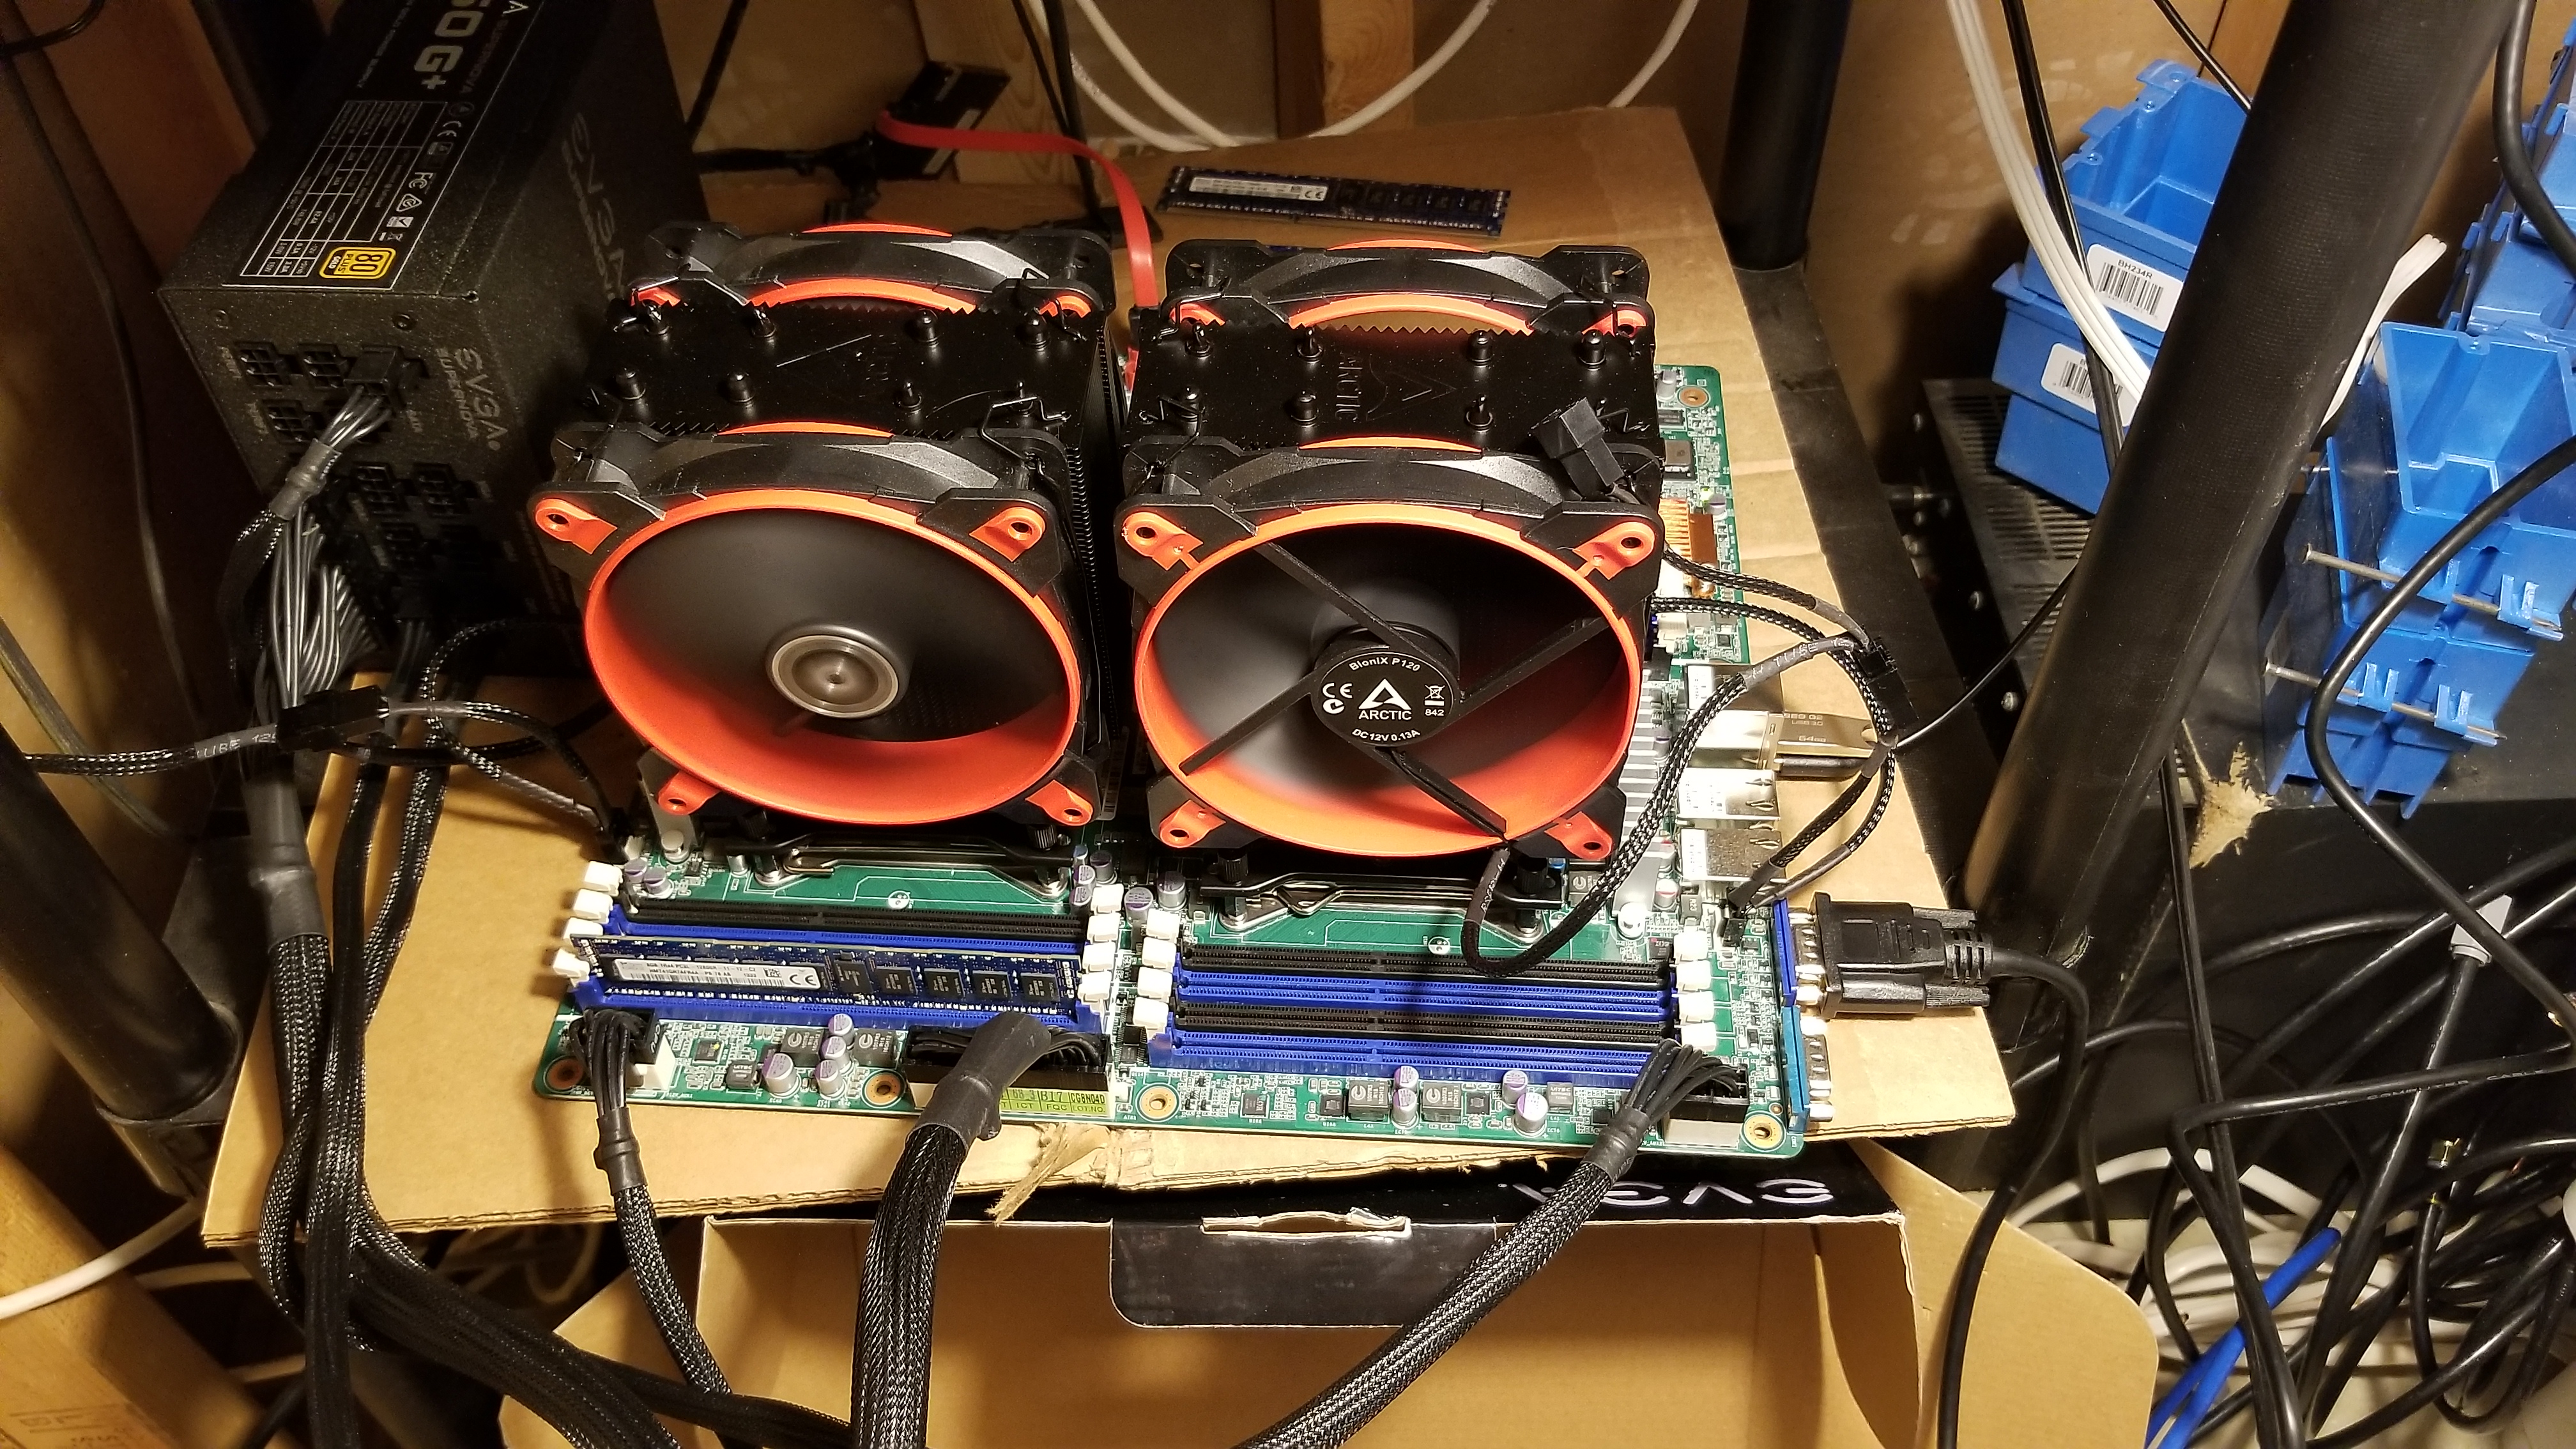
Installed the CPUs, the beautiful Arctic 34 eSports DUOs (which were only a few $ more than the ones in the build guide), the RAM and the SSD.
Powered it with EVGA SuperNOVA 750 G+1 that I found on eBay, since the link in the build guide was way more than that. I bought the Kingston Digital flash drive in 64 GB, which was cool until later when I realized some things need the flash drive to be 32 GB or less.
Wired it up as a monkey would, but the lack of clear direction after that left me clueless. I replaced the battery first, as I heard 5 beeps after booting, which I read somewhere means I should replace the battery.
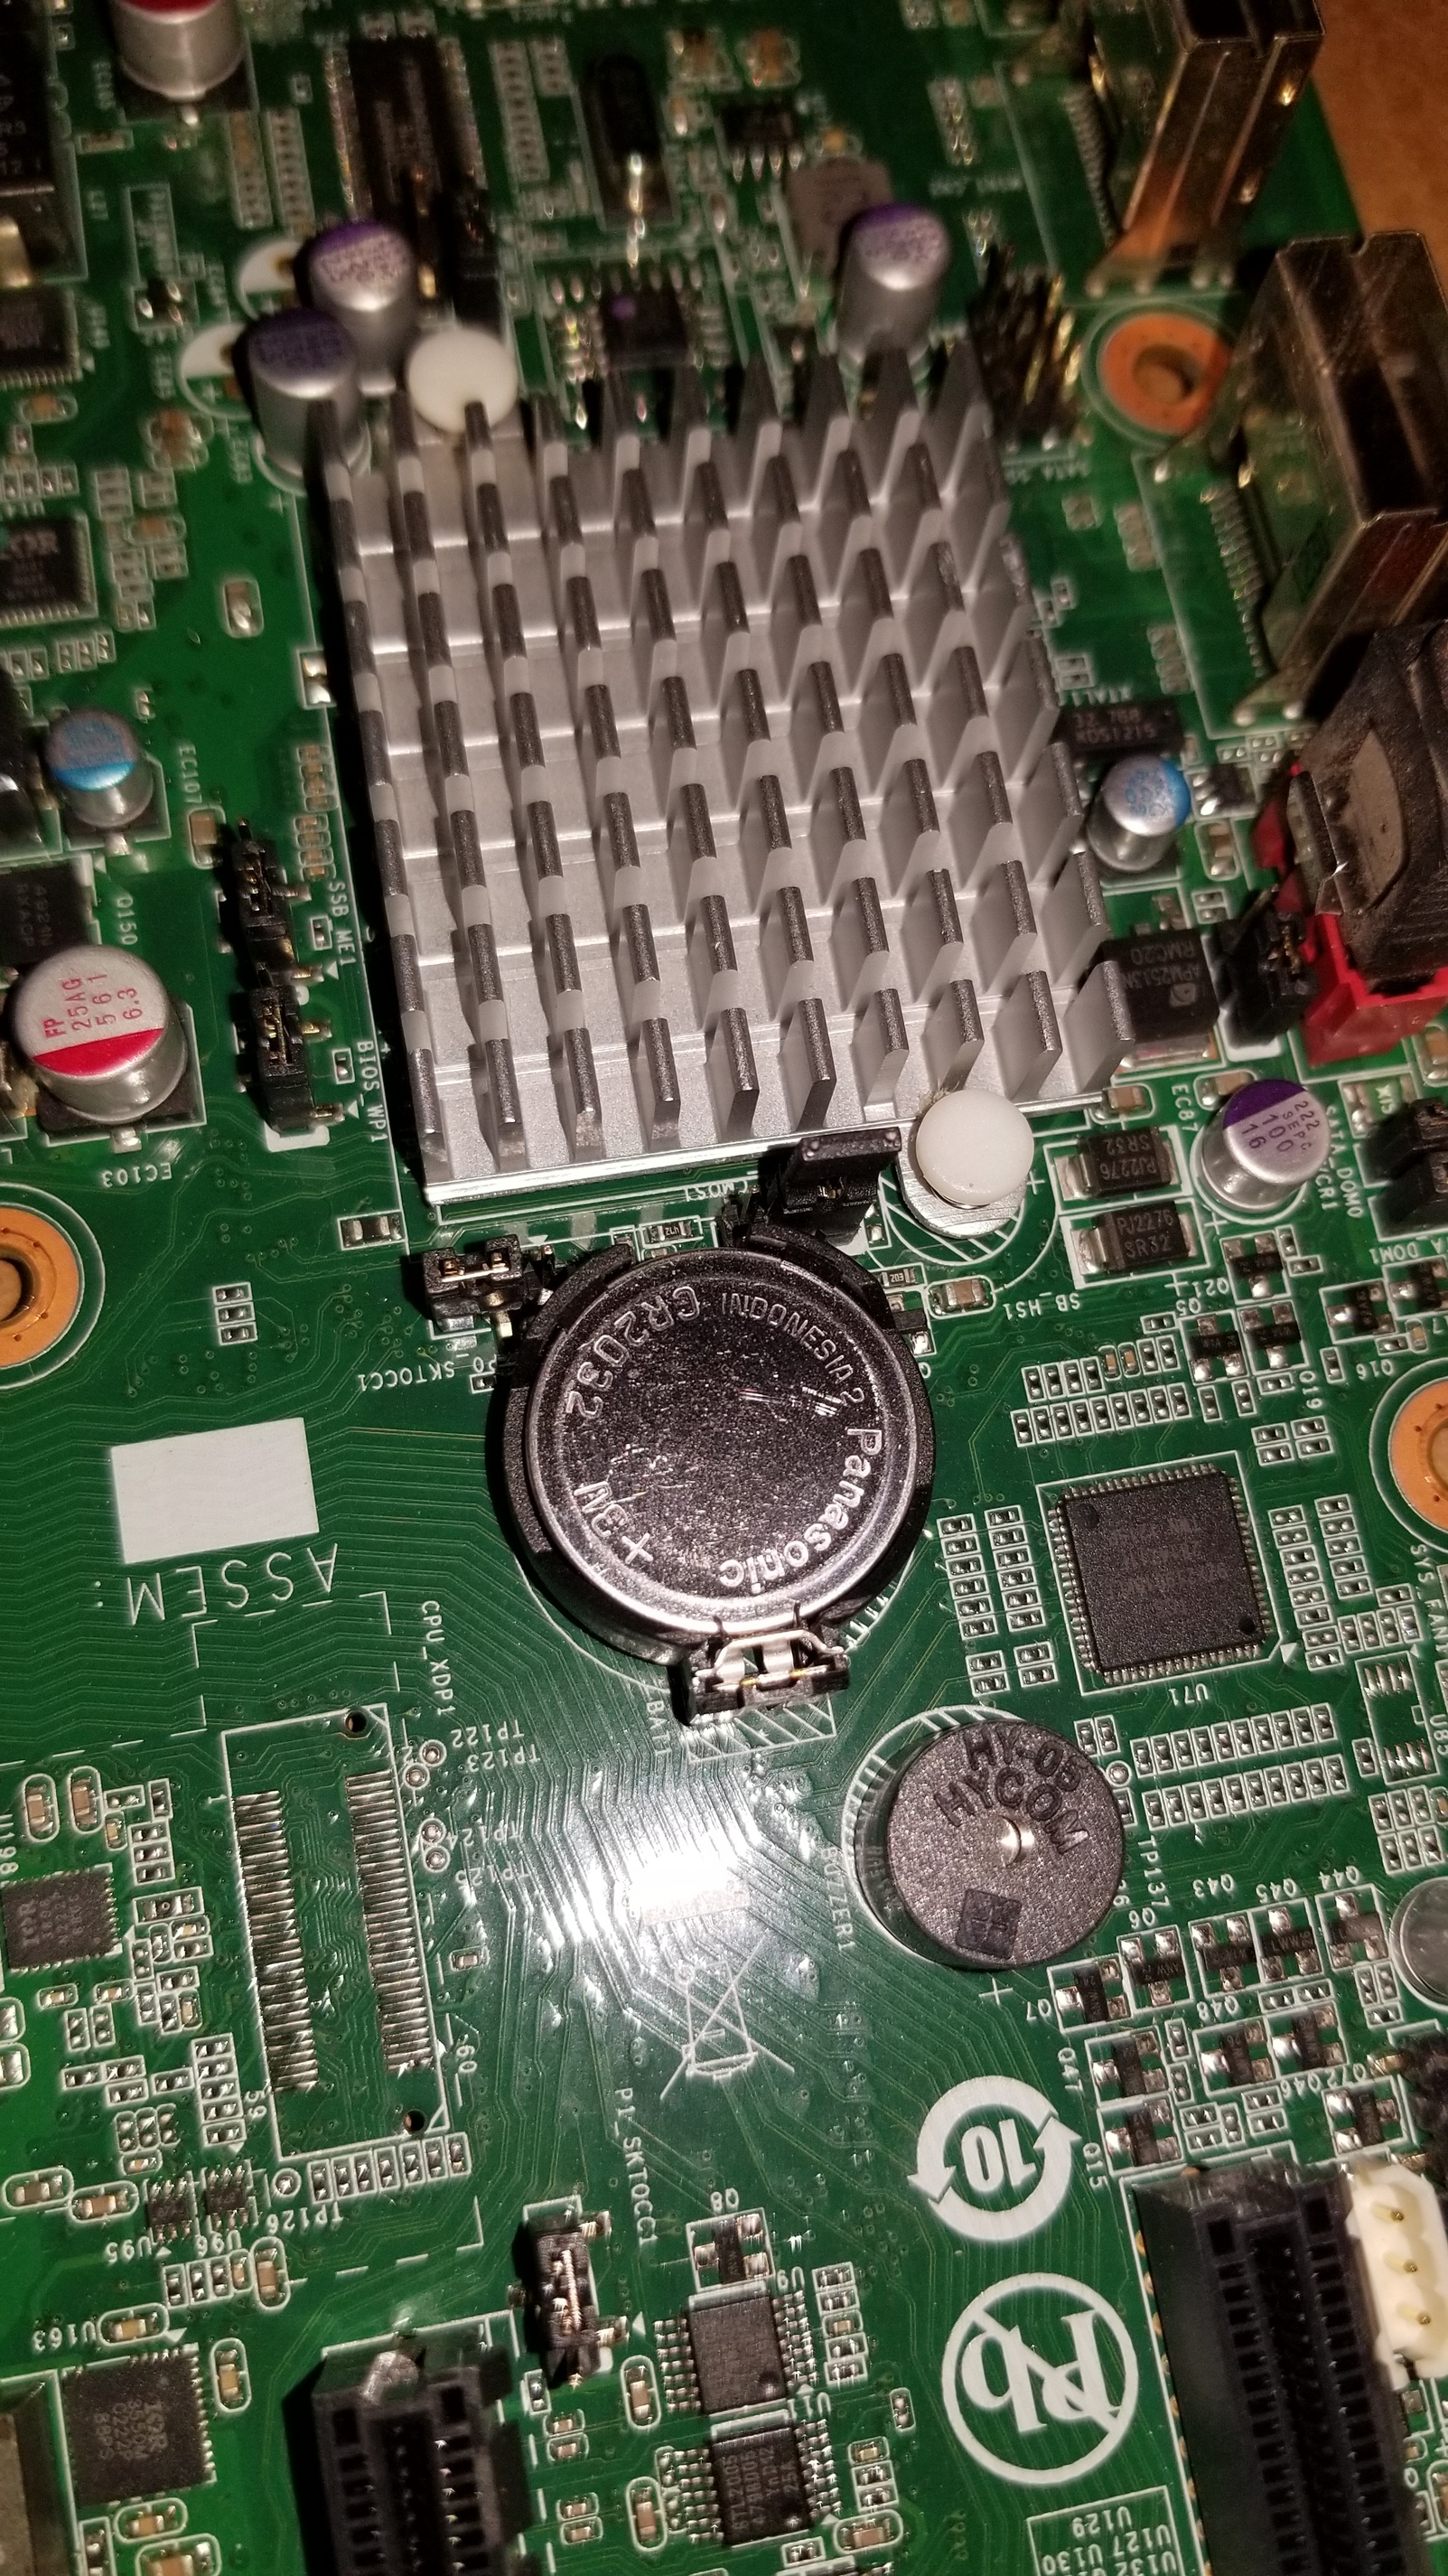
So I stumbled through flashing the BMC to version 2.35 (I guess BMC = IPMI), then followed the guide on the forum to flash the LSI (this board is 2008, stupid former self), but step 6 of the guide gave me the incorrect last 9 digits of the SAS address (in the green box), soI had to get it instead from the label stuck on the board (in the middle, near the printed 7PESH2 text, with the bar code).
Then I flashed the LAN with V04, which took longer than it should have because I was trying to boot from the flash drive instead of the Rufus shell (there were 2 options for the flash drive to boot from).
Also, this part was not obvious to me, but yes, plug a VGA monitor into the blue VGA port, and a USB keyboard into one of the USB ports. And you’ll need to have your SSD or HDD (or whatever you’re installing Windows on) also plugged in.
Then I booted a flash drive with Windows 10 image (I warned you all I was a civil engineer) that I created from the Media Creation tool Microsoft has. That installed just fine and had to install the Ethernet adapter drivers to connect to the internet.
The Ethernet port above the USBs will get you access to the remote management console. And the IP address for that you can obtain via the BIOS. I had to change it to DHCP in BIOs, per the manual.
Either of the other Ethernet ports two will get you to the internet.
Summary
This text will be hidden