0. Overview
This guide will get you started with using aliases in pfSense to simplify your firewall rules (port forwarding, outbound NAT rules, etc). In the steps below, we will create a Host Alias.
1. What is an alias?
An alias simply defines a single or group of Hosts, Ports, or Networks. In other words, think of an Alias like a nickname.
2. Why would you want to use an alias?
Aliases make your life easier. Instead of remembering IP addresses or port numbers, you can simply reference an alias you’ve created, and pfSense will even autocomplete, where appropriate. This also simplifies editing rules, because you can edit the alias rather than the rule or rules. For example, if you need to add ports to an existing forwarding rule, you can add the necessary ports to the alias, rather than recreating or editing the rule.
1. Steps
1. In pfSense, navigate to “Firewall / Aliases.”

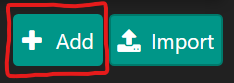
2. Click the “Add” button to create a new alias.
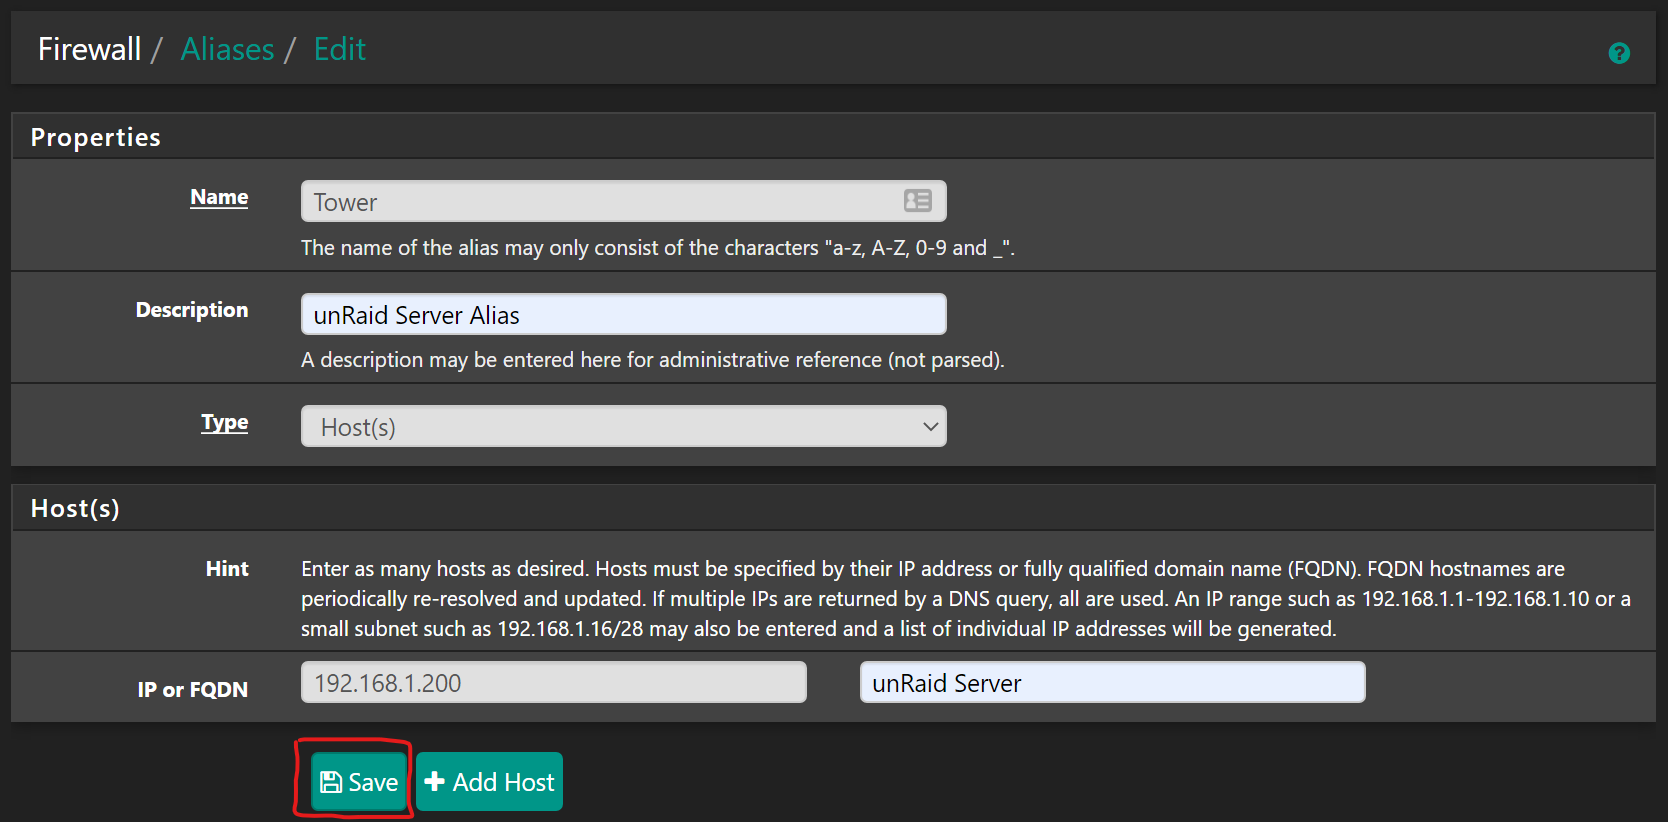
3. Enter the alias name and a description.
4. Set the type to “Host(s).”
5. Enter the IP address of the host.
6. Enter a description for the host.
7. Click the “Save” button to save the changes.
Steps 1.3-1.7:
8. Click the “Apply Changes” button to apply the changes.

You now have an alias for a single host that you can reference when setting up firewall rules and other settings. The same concept also applies to Ports and Networks. Additionally you can set aliases up for multiple hosts, ports, and networks for more advanced and/or complex firewall rules. pfSense can even autocomplete alias entries in settings where they apply.
Congrats, you’ve just simplified your firewall rule management!