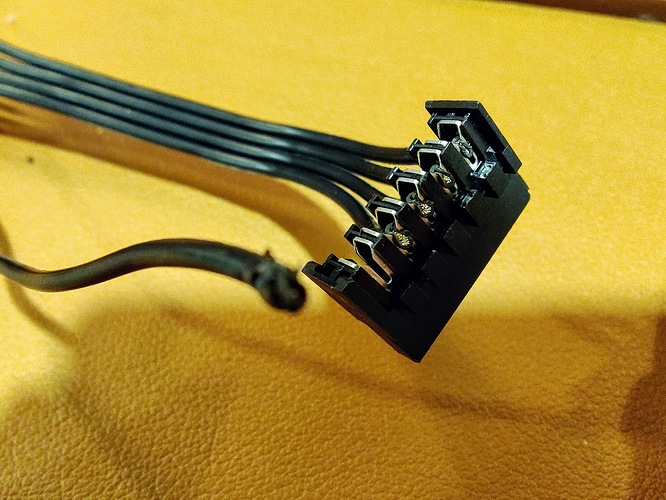
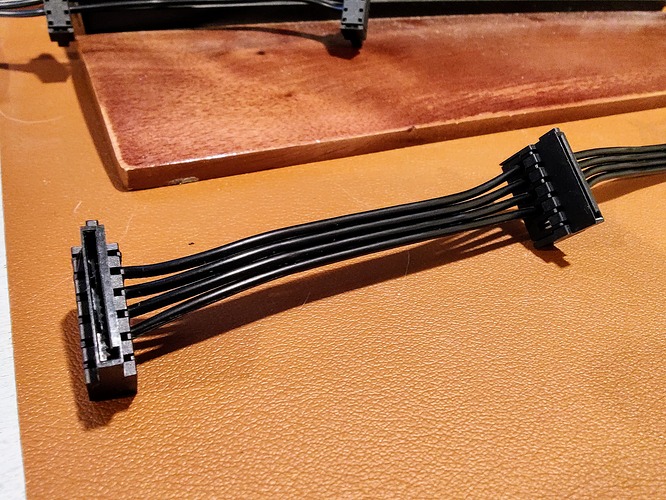
This is a quick tutorial on how to remove the 3.3v wire from your SATA power cable. This fixes the issue where hard drives are not recognized by your system due to a new SATA specification. It is completely safe to remove the 3.3v wire and the power cable will still work with all SATA & SAS HDDs & SSDs.
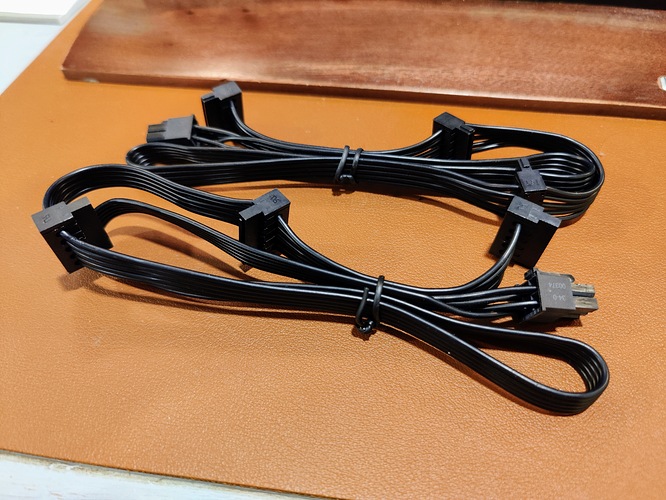
PSU SATA Power Cables in their original form. I bought spare cables for my PSU. This can also be done with SATA extension cables. This is the recommended SATA extension cable.
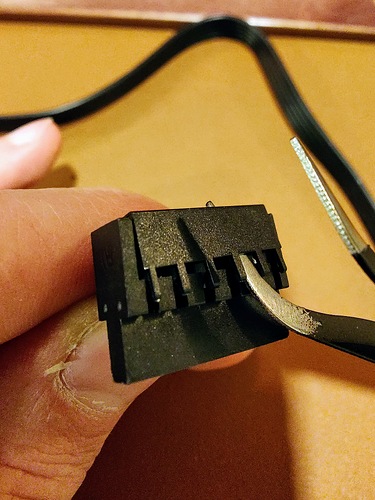
Pop up those little fingers with a tweezers or small flathead screwdriver. Flip it over. Pop up the little fingers on the other side of the connector. Remove the cover from the connector.
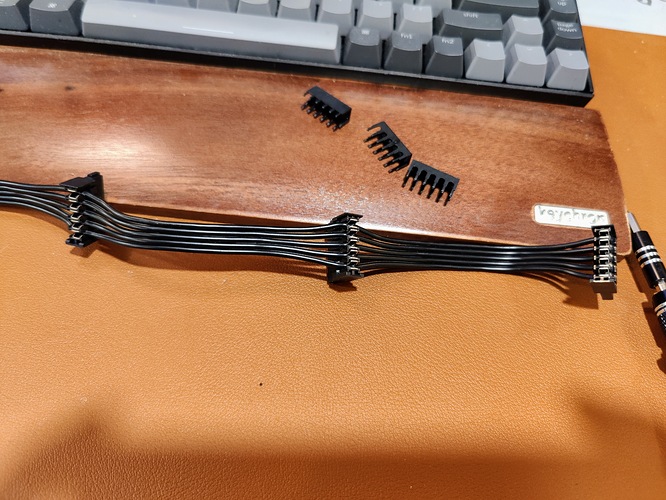
Covers removed from the connectors
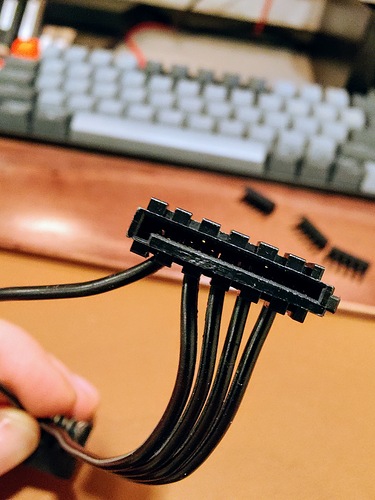
Separate the 3.3v wire. It is the wire closest to the hook of the “L” in the connector. Left-most wire in this photo.
Start to remove the wire. Just pull the wire up gently from each connector along the length of the cable. Discard of the removed wire.
Pop the covers back one. Grab a beer and celebrate this major step forward in the saga of “my PC won’t see my new hard drive”
