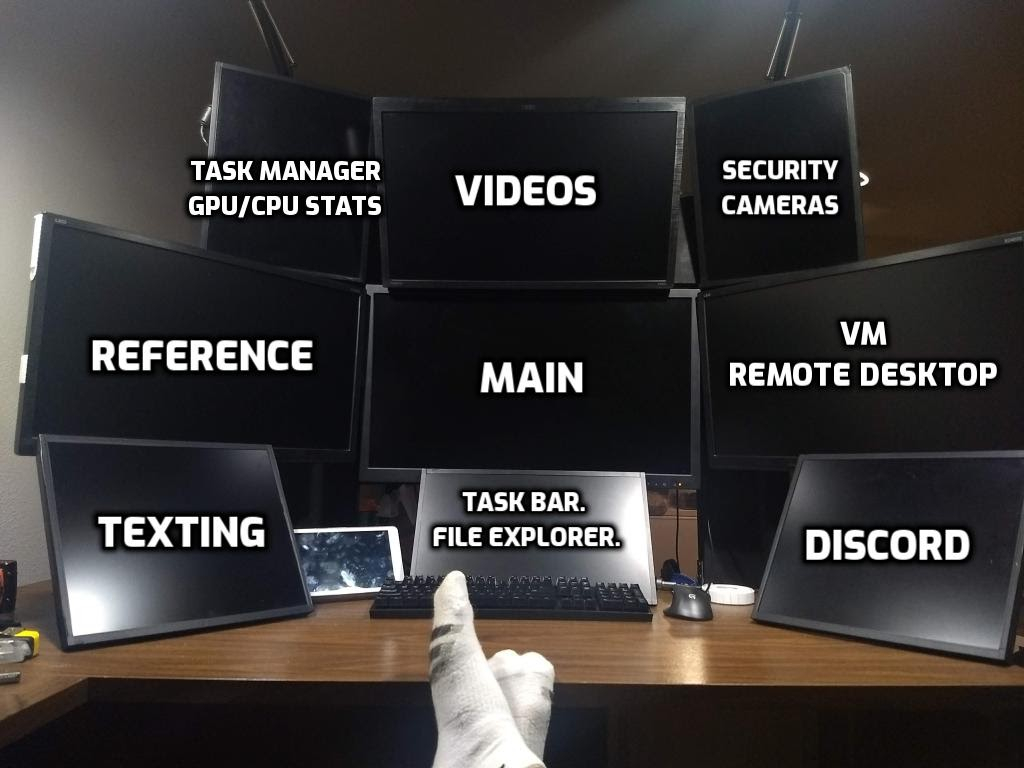
As I have the need for 13 monitors on my desk I’ve been needing to build a larger desk. WFH has been a push to spend a chunk of money on what should be the largest desk I need and last me decades. This first post is just for listing all the materials, why I chose them, and costs. I’ll have two followup posts about finishing the tabletops and assembling. Once I get everything done I’ll try and link a Battlestations post with all my computers back in place.
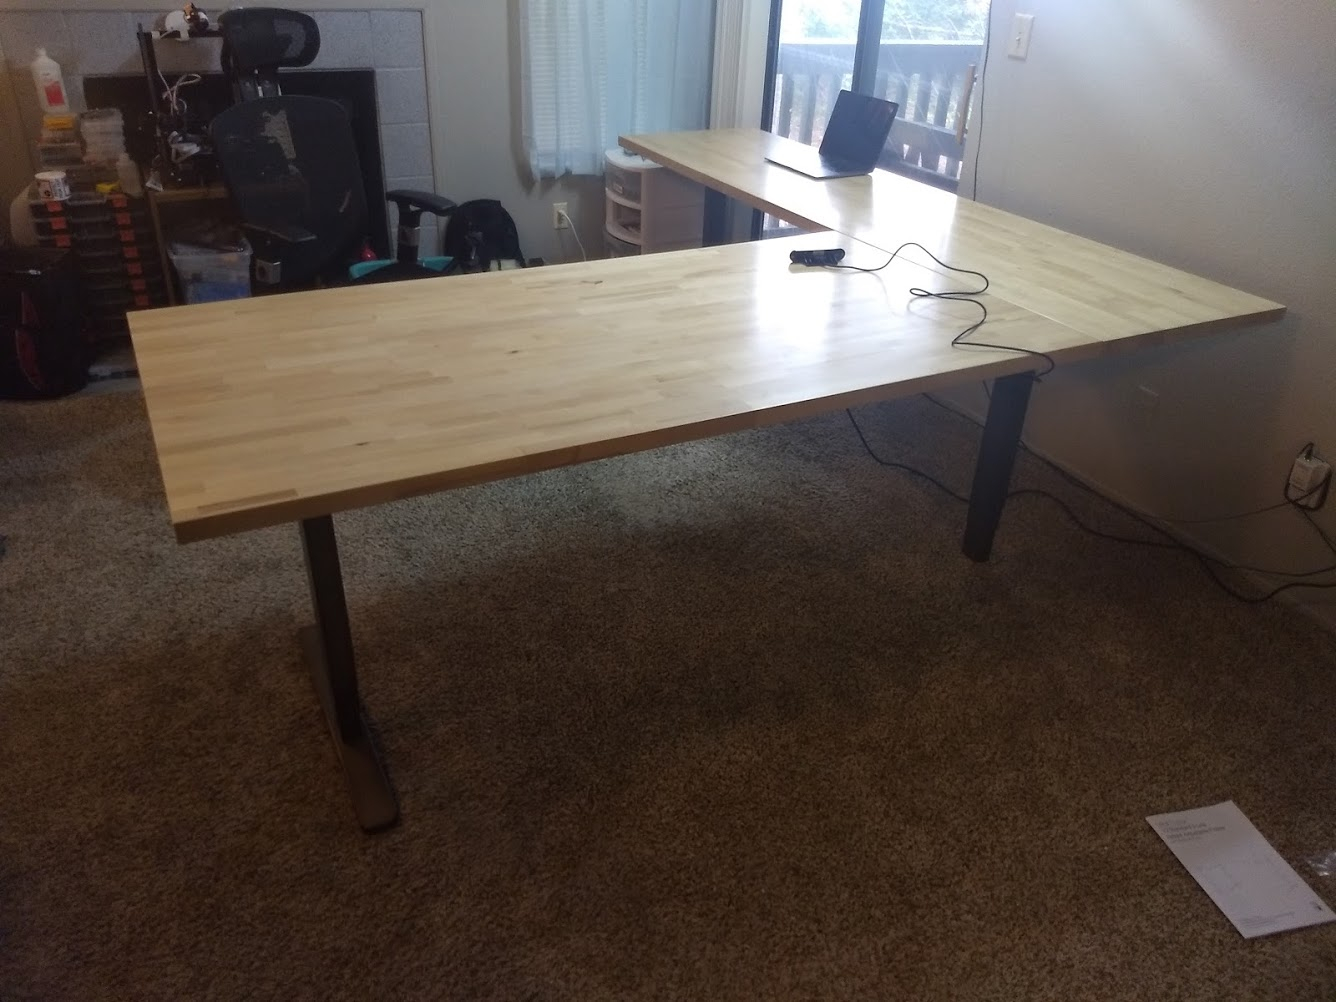
The desk will be roughly an 8’x8’ L desk with a 25" deep side and 39" main desk. I wanted a large desk that gives me enough space for a primary home setup and a secondary WFH setup. If you just want a more normal size desk a single butcher block with the normal frame would be much cheaper. If you don’t want a standing desk fixed/adjustable length legs at each corner would also be a much more budget-friendly option. The largest costs are the uplift desk frame at 58% of the project and the butcher block tops at 31% with only 11% being the other smaller items.
Frame
- I had considered some of the much cheaper sit-stand desk frames from amazon at first, however, each of the tops weighs around 100 lbs and my other equipment would easily overwhelm the 300 lb weight limits. I looked at both the Jarvis and uplift frames both being similar and supporting ~525 lbs. I ended up going with the uplift frame as it didn’t have lower support bars and since I’m spreading the frame wider than designed it would have been a pain to modify them.
Top
-
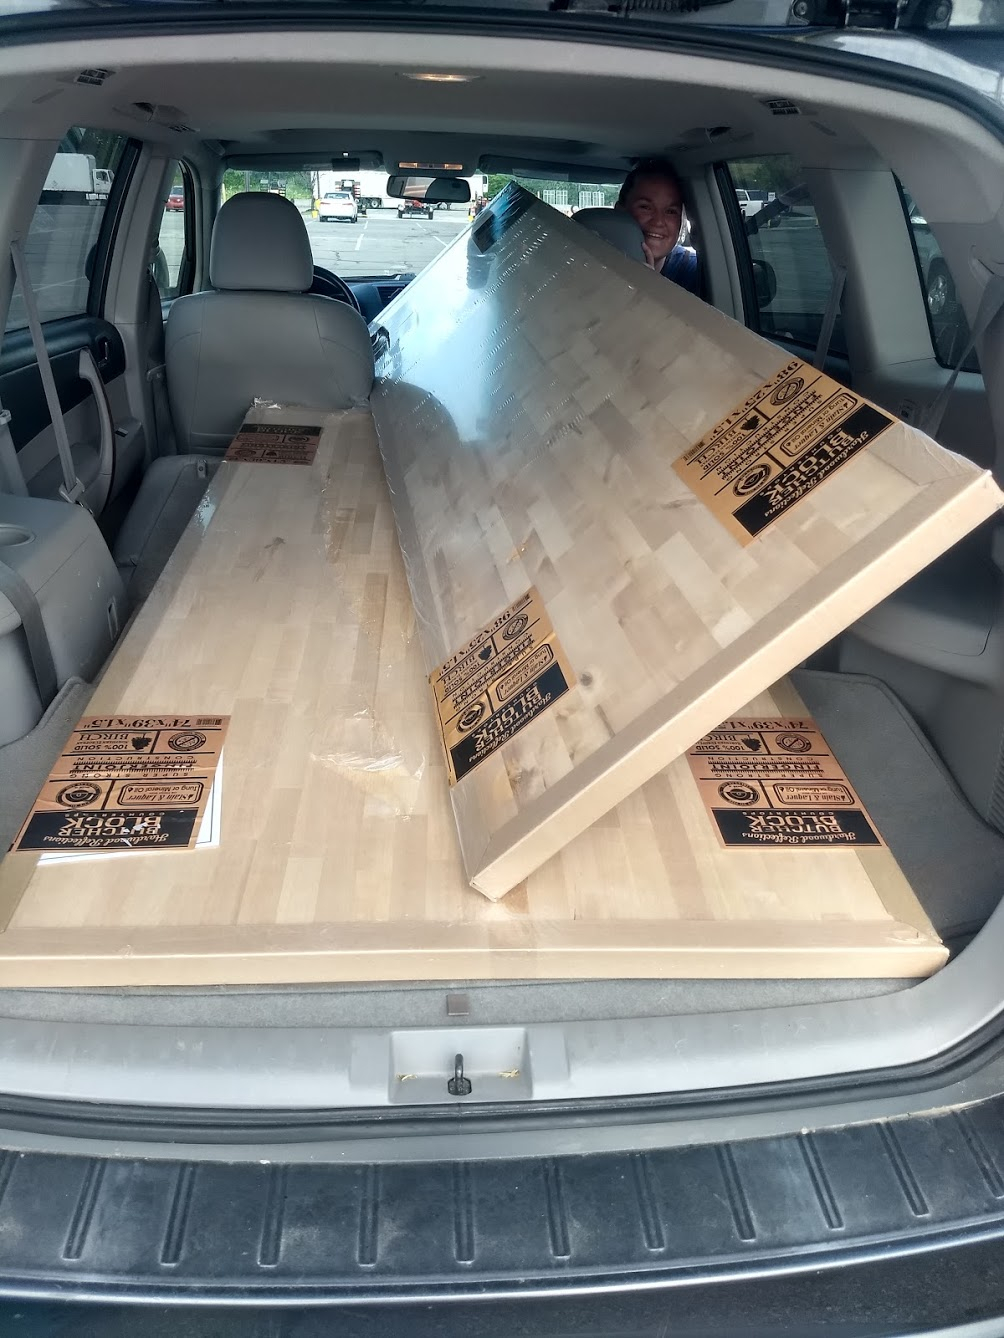
I had looked at a lot of options for tops most being expensive or too thin so the butcher block seemed to be the easiest and home depot had two sizes that would work together to form the size of the desk I wanted. The 74"x39" block weighed 102lbs and the 98"x25" one weight 84 lbs so it’s definitely a two-person lift and wore out my wife and I carrying them up 2 flights of stairs on a 90+ degree day. These butcher blocks come with an A-side and B-side. The A-side is what you want up and the B-side will be the bottom. While the B side is still nice it will have some small knots.
-
Make sure you check over the board and check that there are no flaws and all the corners haven’t been damaged when buying one. Sadly on my desk, one of the strips under the protective cardboard edges had finger joints that were 1/8-1/4" apart with no way to tell. It’s easy to fill with wood filler and can be put on back but it’s something to watch out for. Since I got the wood filler for the flaw I also used a bit to fill in the small knots on the bottom to avoid any large bumps.
Top treatment:
- With the tops being unfinished wood they have to be sealed. For this, I went with some satin water-based polyurethane. Both my wife and I were okay with the birch wood color so I didn’t feel like going to more effort to stain it but that’s mostly personal opinion. Before I put on the polyurethane I plan on sanding it down with 120 then 240 grit sandpaper. After the first sanding, I’ll put a coat of sanding sealer on it and do another pass with 240 grit to make it smooth. After the sanding sealer and before each coat of polyurethane I plan on doing a hand pass with 400 grit sandpaper. Since both sides need to be sealed I plan on doing the same process to both sides and edges with the top getting 3 polyurethane coats and the bottom just getting 2.
Misc parts and accessories:
-
These are somewhat optional depending on your use case. The desk frame only comes with 5/8" #10 wood screws. If you’re not building as long of a desk and staying inside the recommended size I think you can get away with the included wood screws. As these are pretty small I wanted to upgrade to either #12 or #14 screws in a 1" or 1.25" length and avoid Philip’s head screws. This would be a valid option but I worried about stripping them as I plan on this desk having to move a handful of times in the next couple of decades with me.
-
I ended up going with 1/4-20 threaded wood inserts to allow me to take it apart and reassemble easily. It was cheapest to buy 100 of these inserts but only a handful are needed. I might add a couple more mounting points with their own inserts along the frame as it had threaded inserts down the length of it. With this, I also needed matching 1/4-20 screws/bolts so I picked up a 100 pack of 1.25" stainless steel bolts. Since the included washers are too small I grabbed matching 1/4" washers and rubber washers that are the same thickness as the included ones for my additional mounting points.
The only tools I think I’ll need are the ones included in the list and a drill for either predrilling the wood screws or wood inserts.
Here is the full list of parts and their cost. This google sheets link has both notes and links.
| Total: | $1,1884.50 |
|---|---|
| Item | Cost |
| Uplift L desk frame | $823.00 |
| Main Butcher Block | $244.00 |
| Side Butcher Block | $199.00 |
| Satin Water-Based Polyurethane | $48.98 |
| Woodcare Sanding Sealer | $16.27 |
| foam brushes | $5.97 |
| foam brushes | $2.91 |
| drop clothes | $4.98 |
| tack cloth | $15.00 |
| 400 grit sandpaper | $4.98 |
| 120/240 grit sandpaper | had |
| 1/4-20 30mm inserts | $26.73 |
| 1/4-20 1.25" Bolts | $16.43 |
| 1/4 washers. | $6.29 |
| rubber washers | $8.33 |
| wood fill | $14.38 |
| 4th leg + controller | $385 |